Welcome to our comprehensive guide on how to conduct a thorough roof inspection before starting repairs. As a homeowner or a roofing professional, it is crucial to understand the importance of regular roof inspections. A well-maintained roof not only enhances the aesthetic appeal of your property but also protects it from potential damage caused by leaks, structural issues, or weather elements. In this article, we will provide you with step-by-step instructions to ensure a meticulous roof inspection, allowing you to identify any underlying problems and address them promptly.
1. Safety First: Preparing for the Inspection
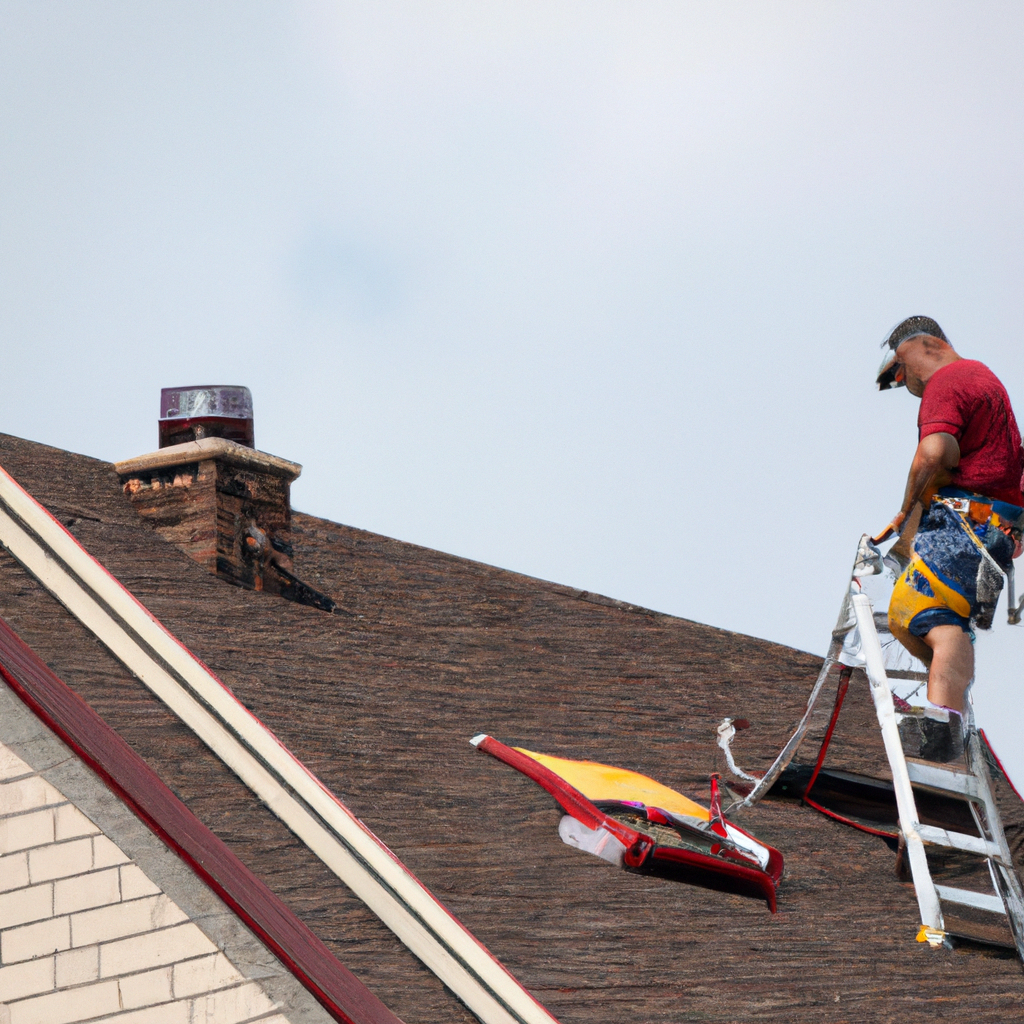
Before you begin the roof inspection, it is essential to prioritize safety. Remember, working on a roof can be dangerous, so taking necessary precautions is crucial. Here are some safety measures to consider:
- Use appropriate safety gear: Wear non-slip shoes, a hard hat, safety goggles, and gloves to protect yourself from potential hazards.
- Secure a stable ladder: Ensure your ladder is in good condition, properly extended, and securely placed on a level surface.
- Check the weather: Avoid inspecting the roof during adverse weather conditions such as rain, snow, or strong winds.
2. Exterior Roof Inspection
The first part of the roof inspection involves evaluating the exterior components. Here’s what you need to focus on:
Roofing Materials and Shingles
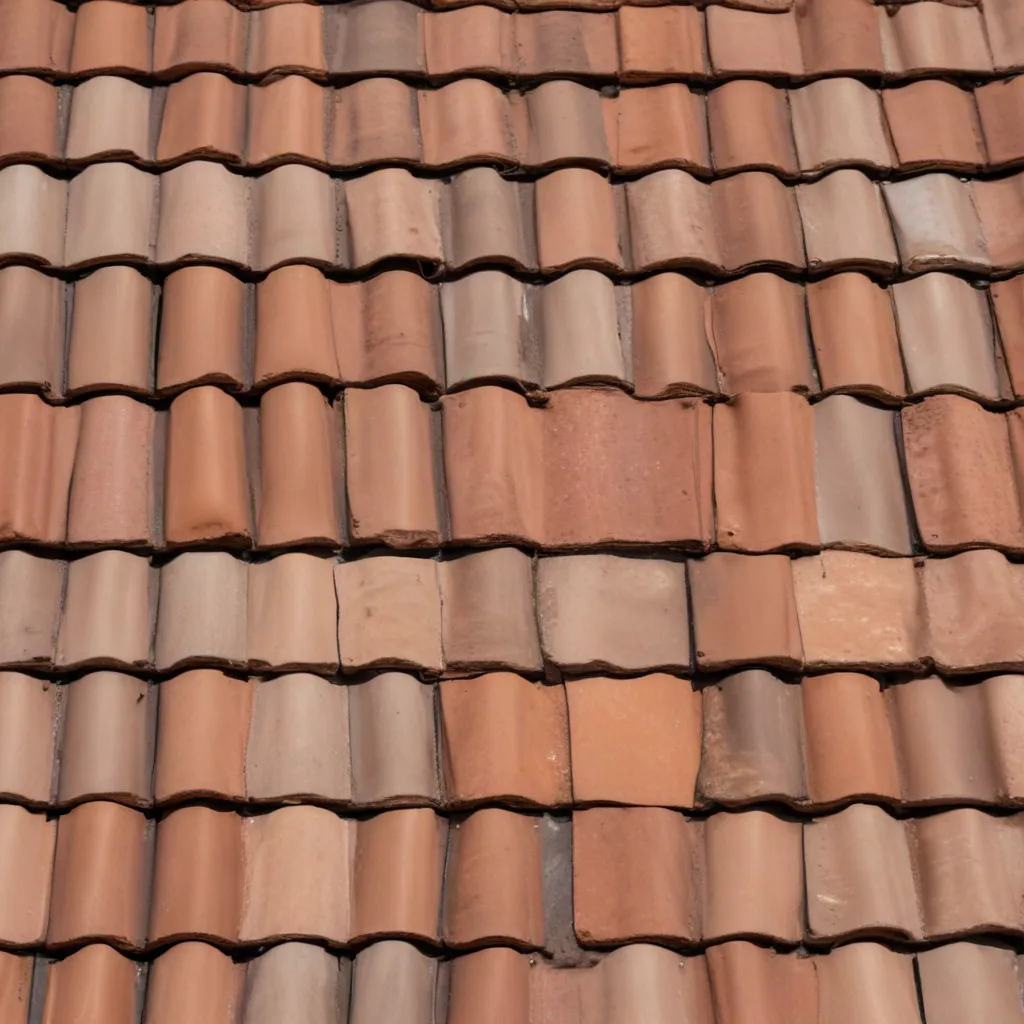
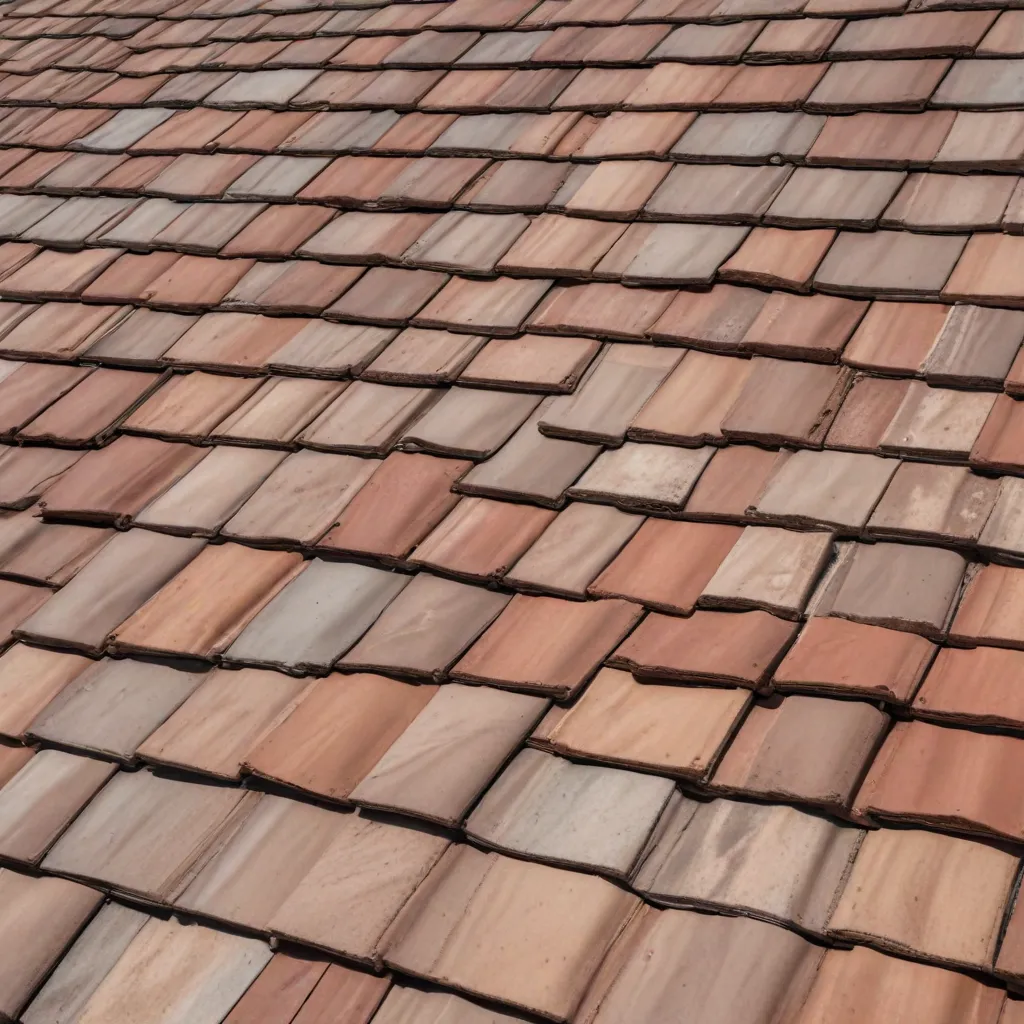
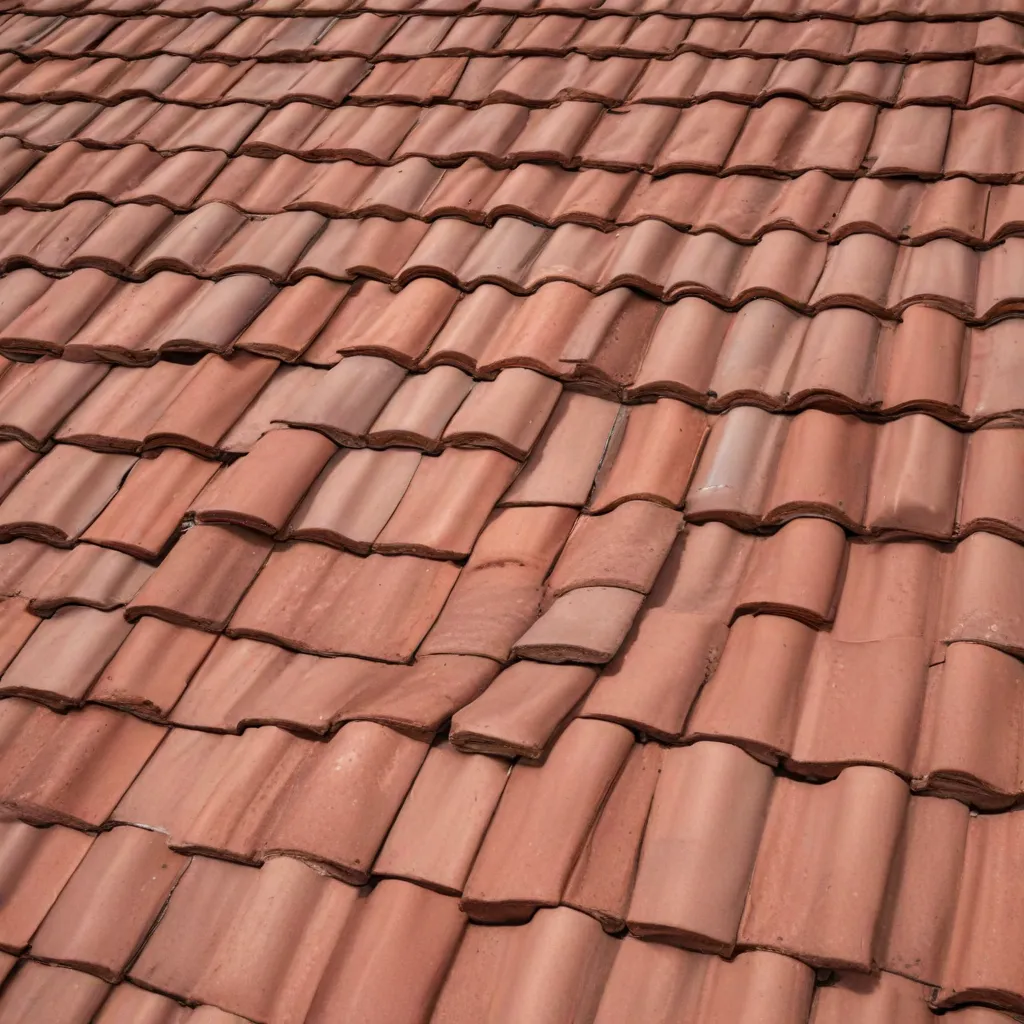
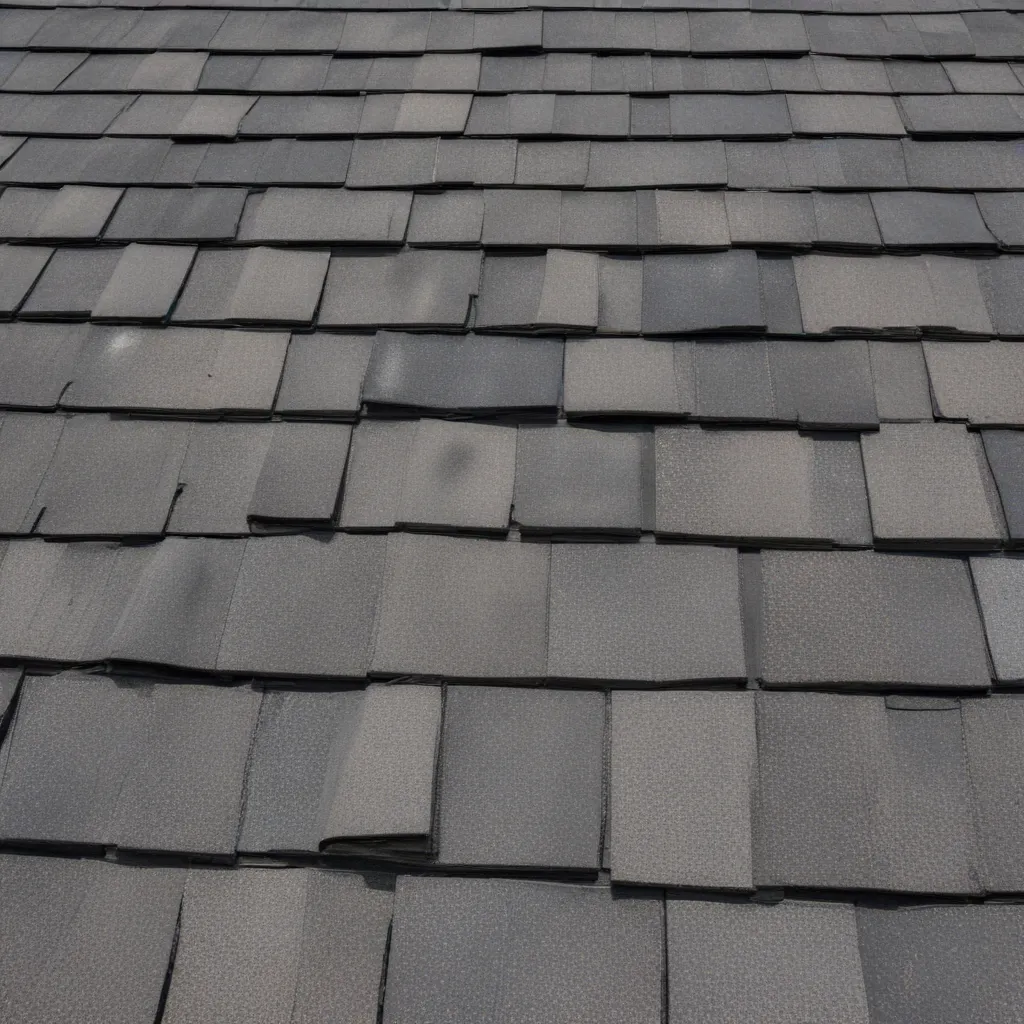
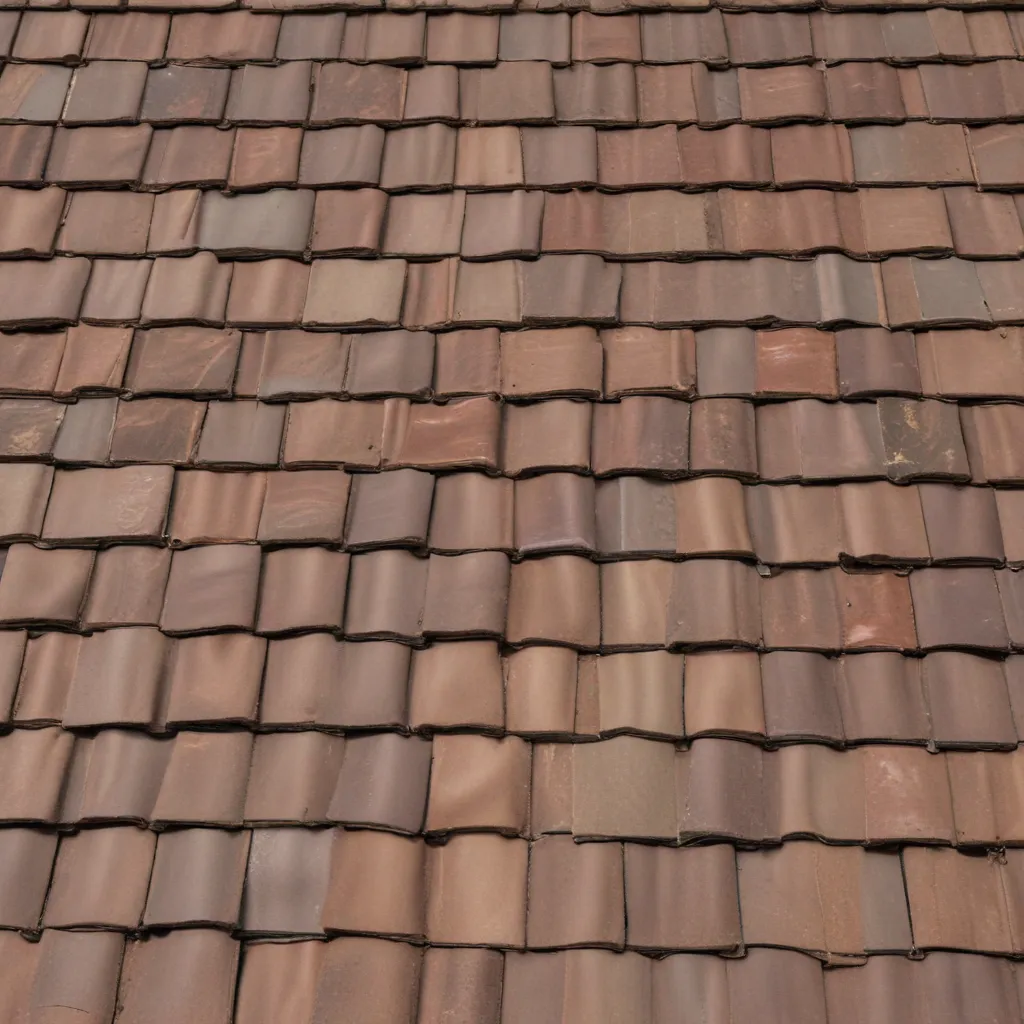
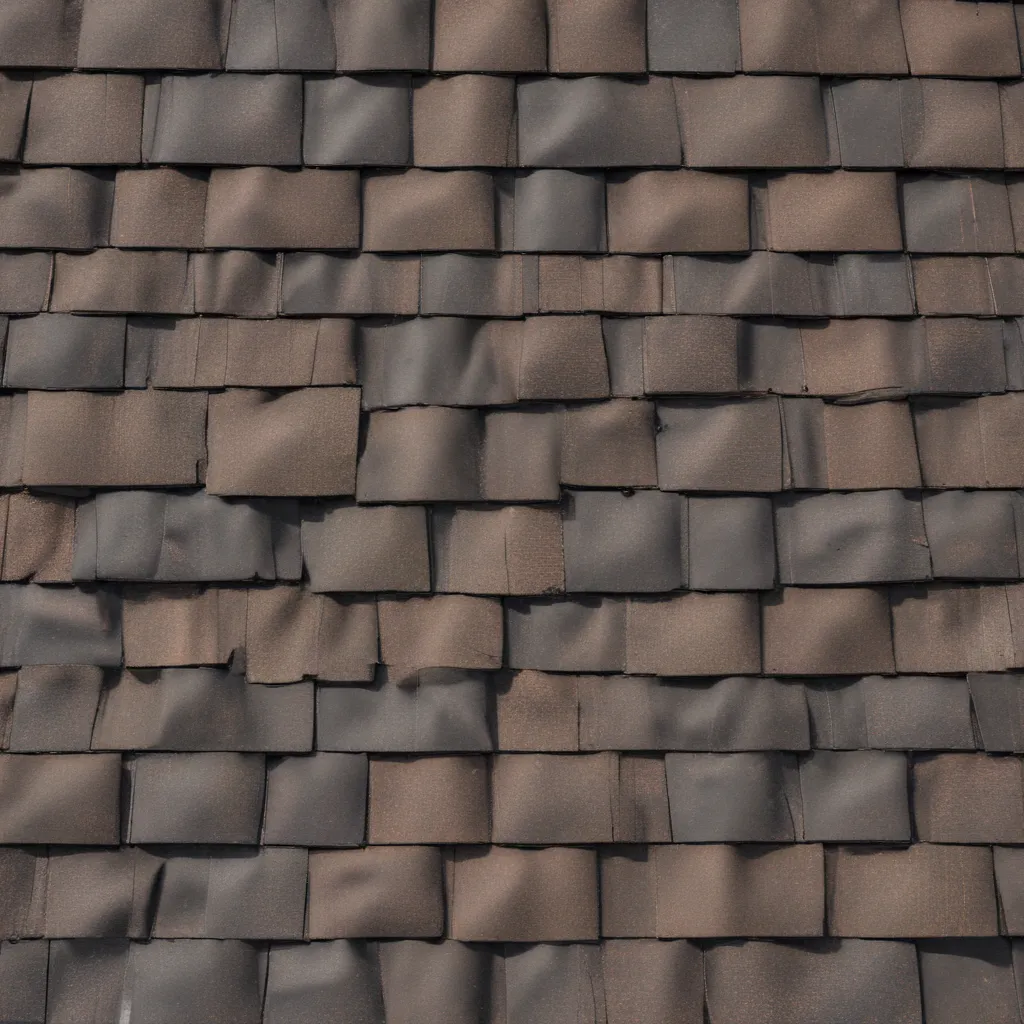
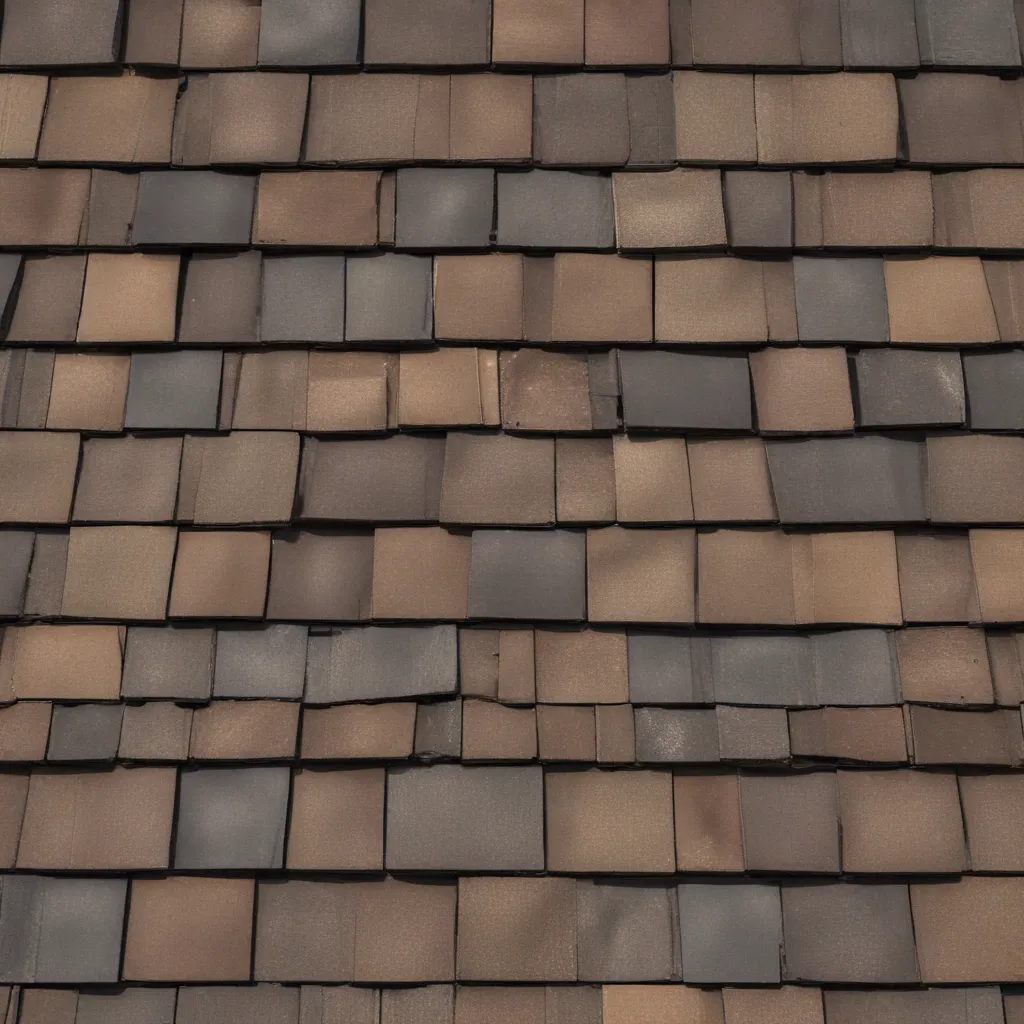
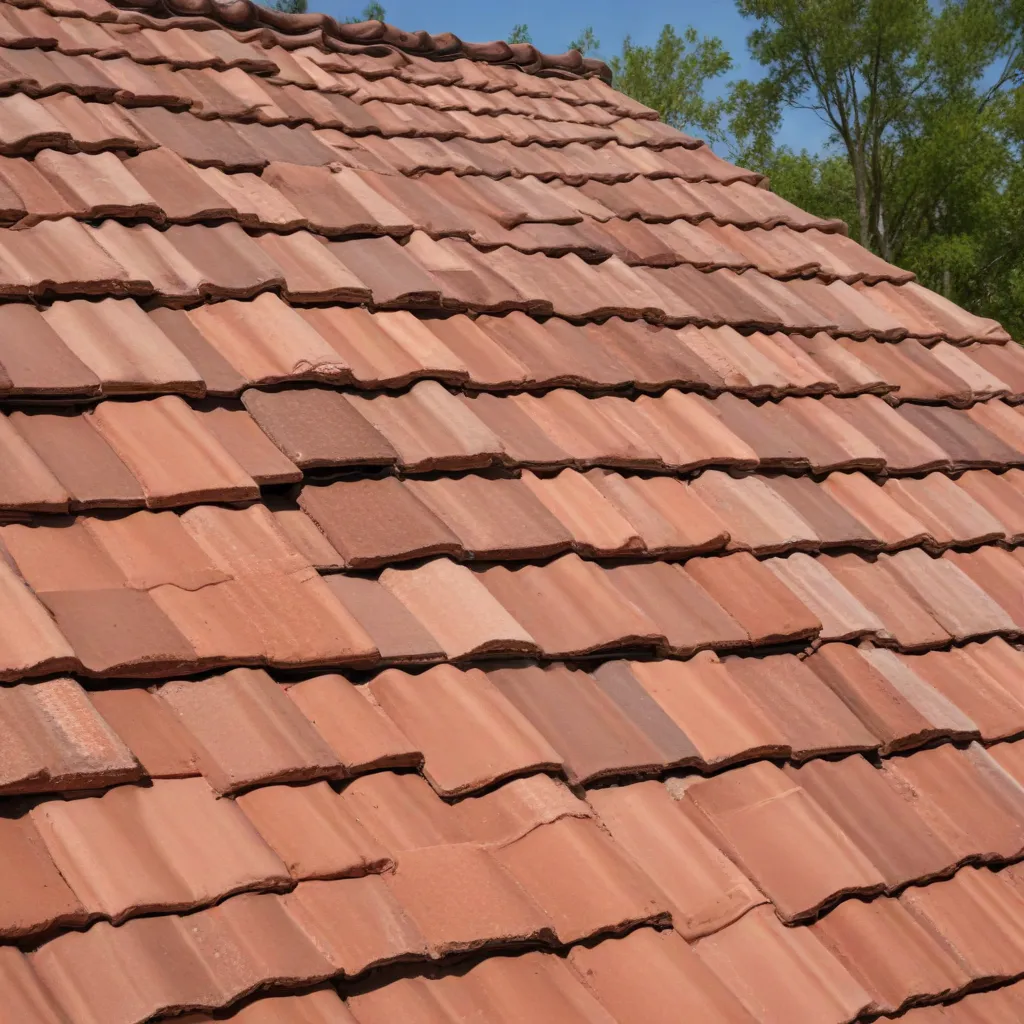
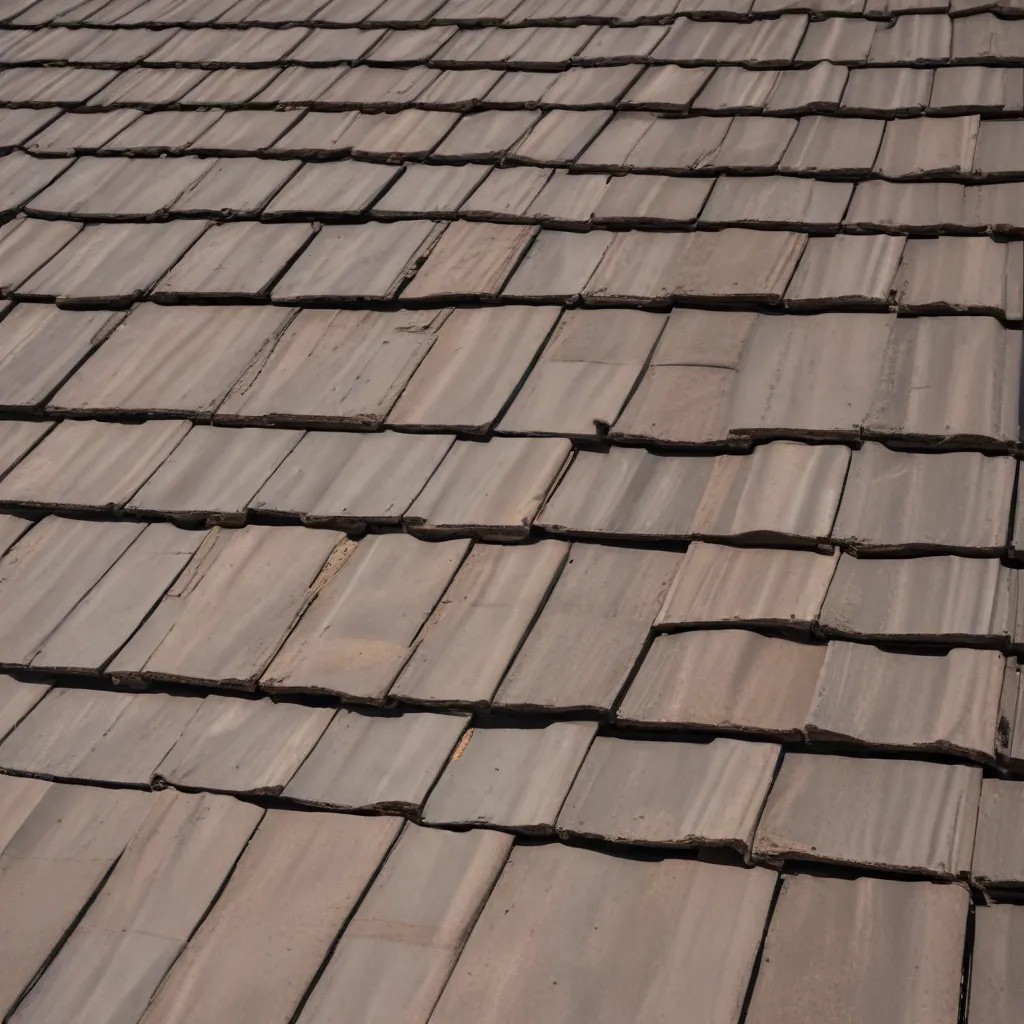
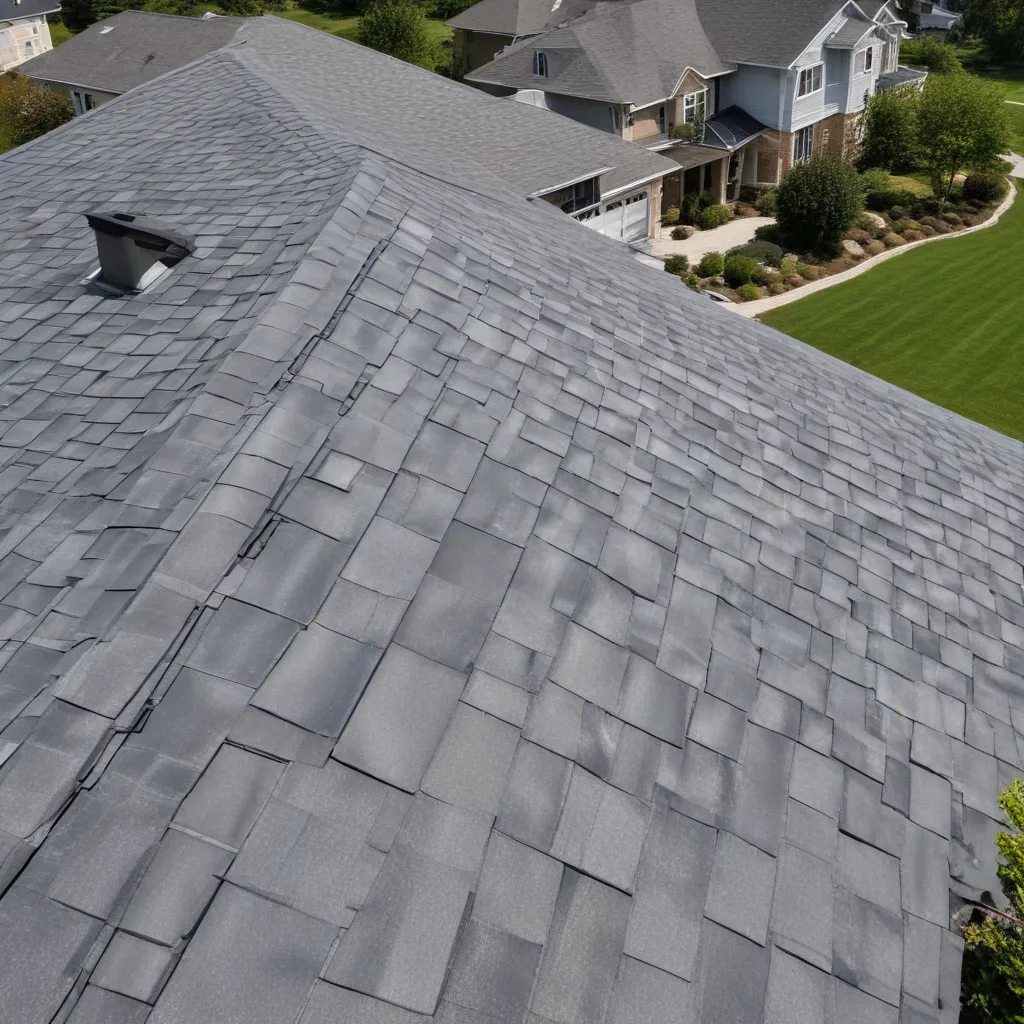
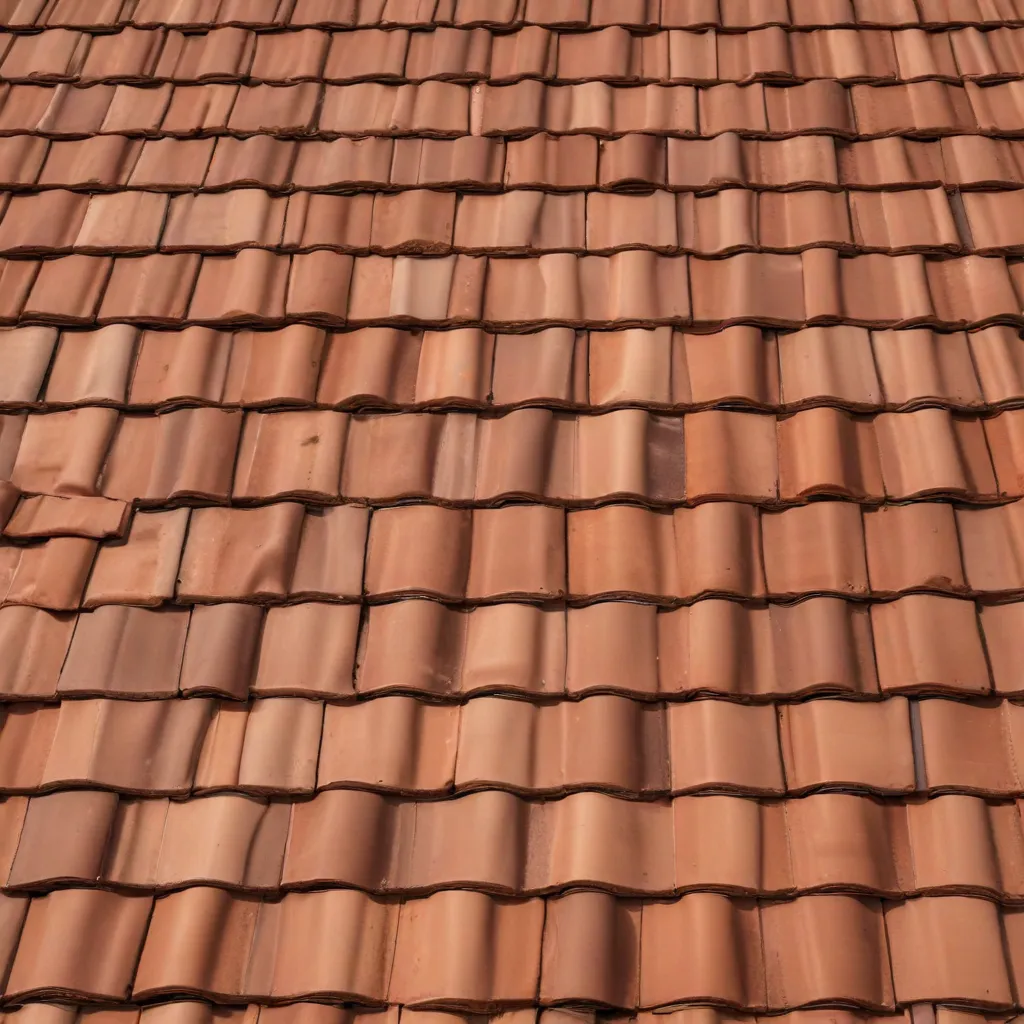
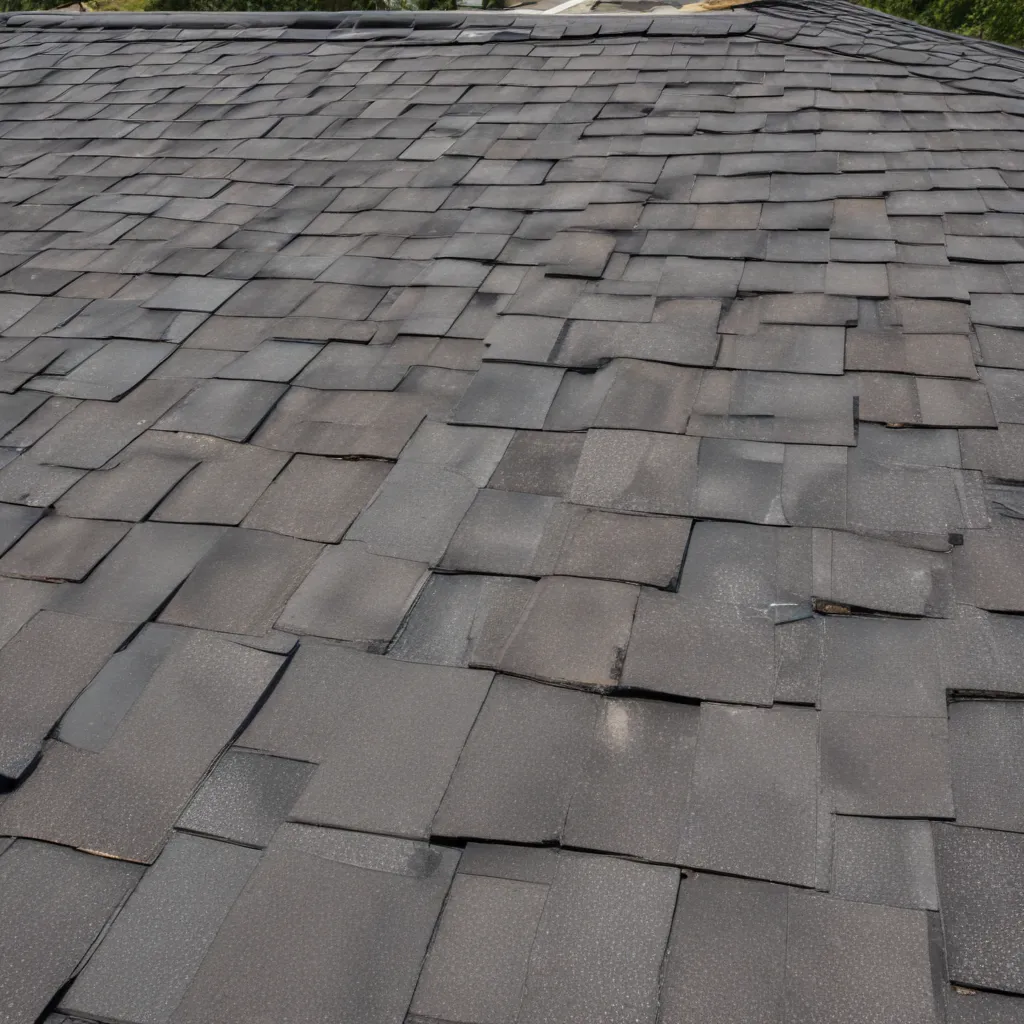
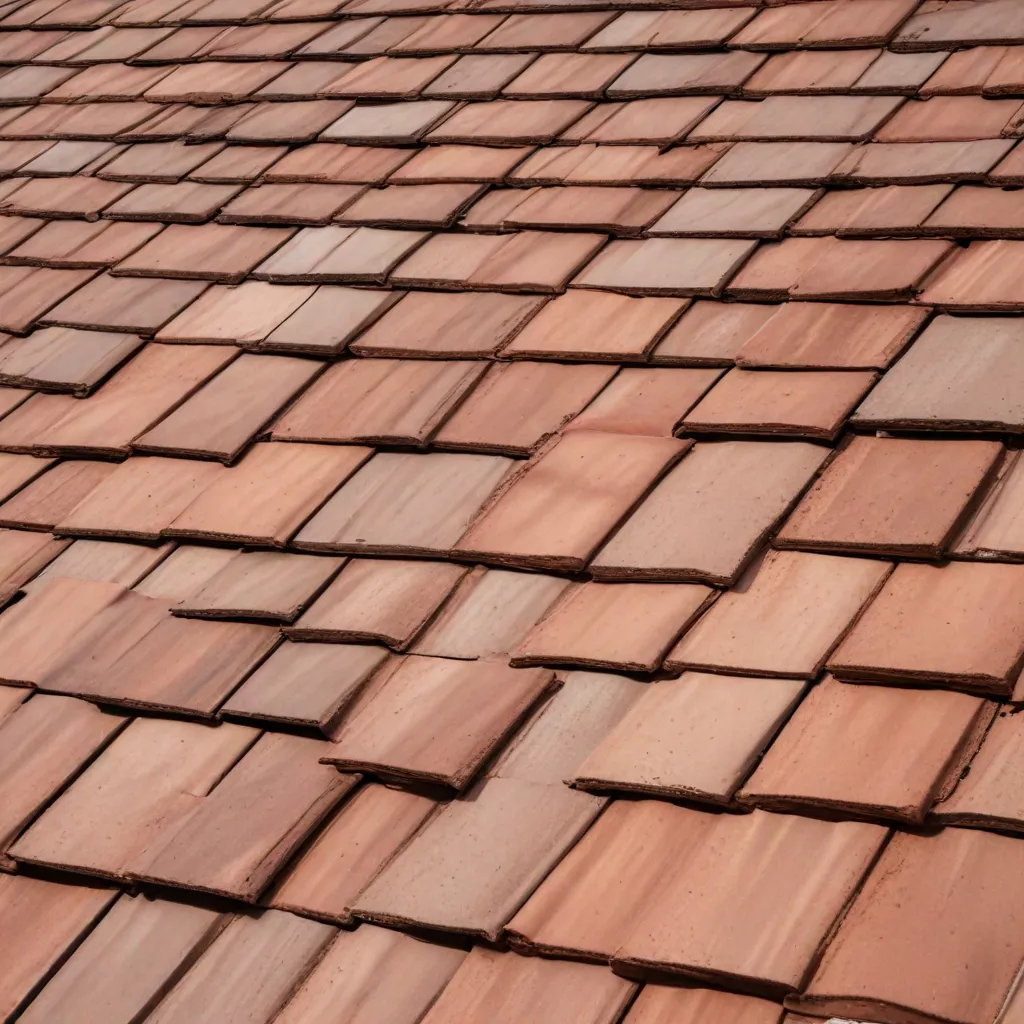
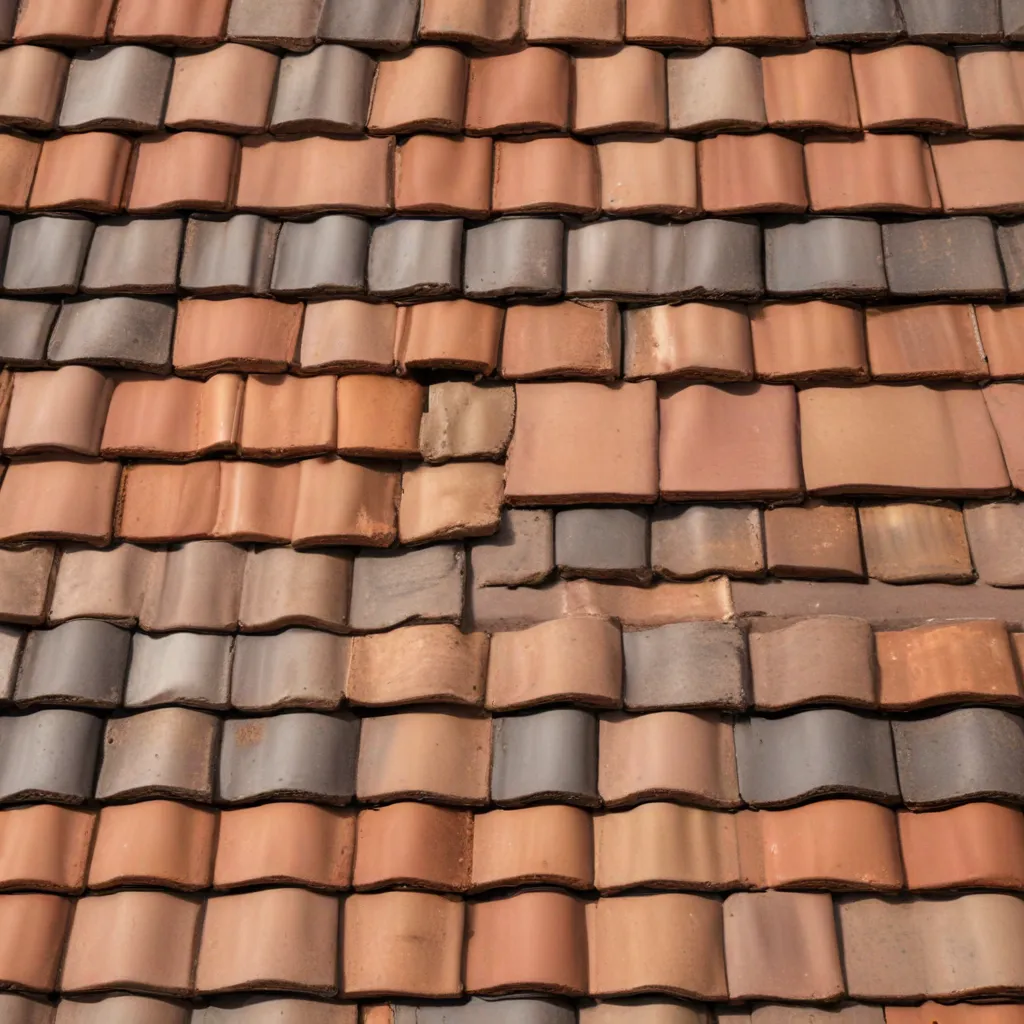
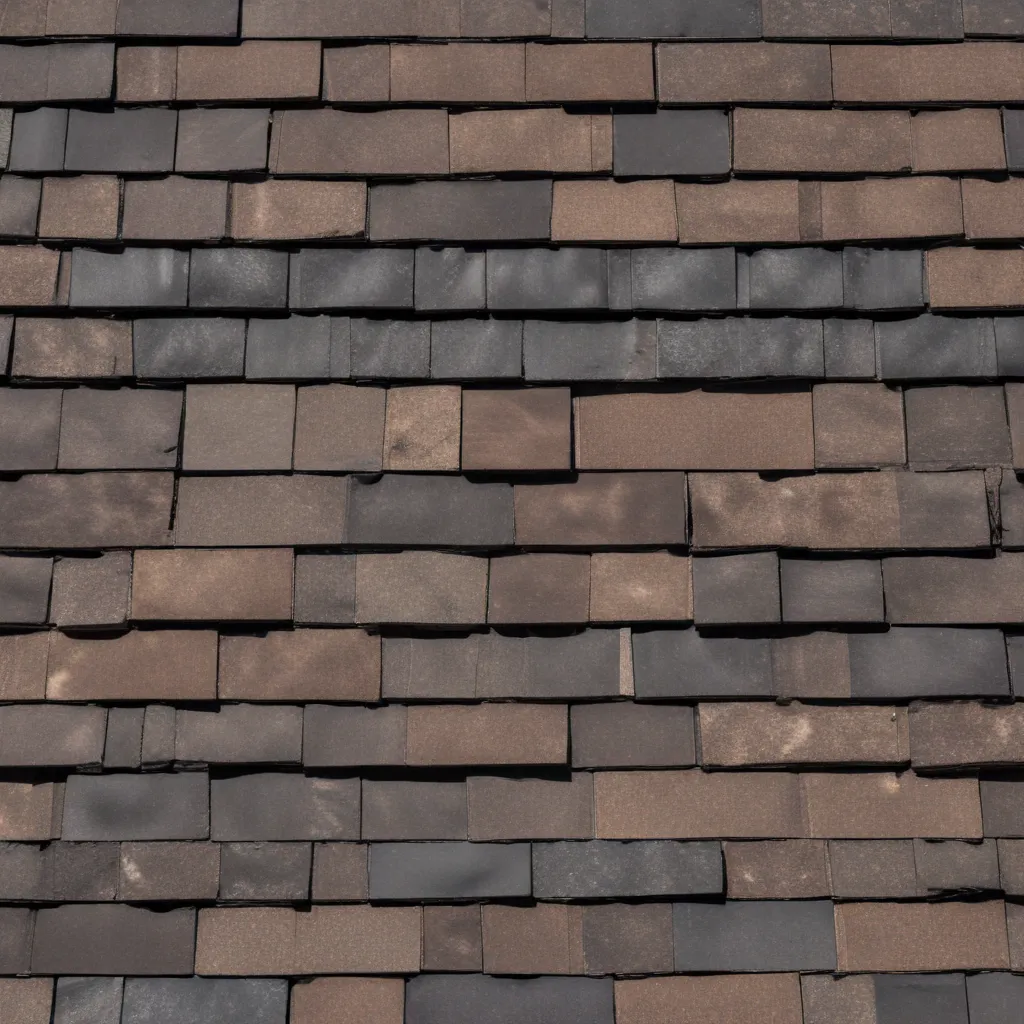
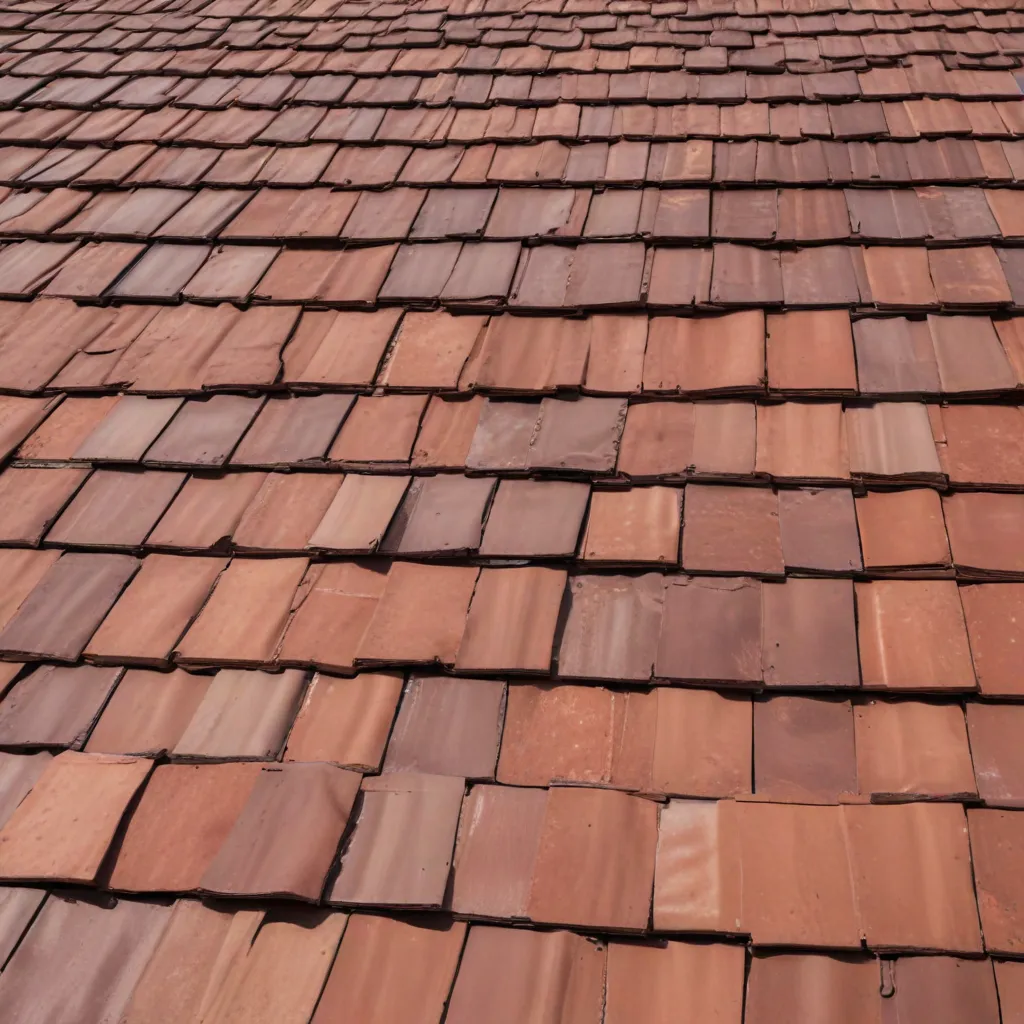
Inspect the roofing materials and shingles for any signs of damage, wear, or aging. Look for:
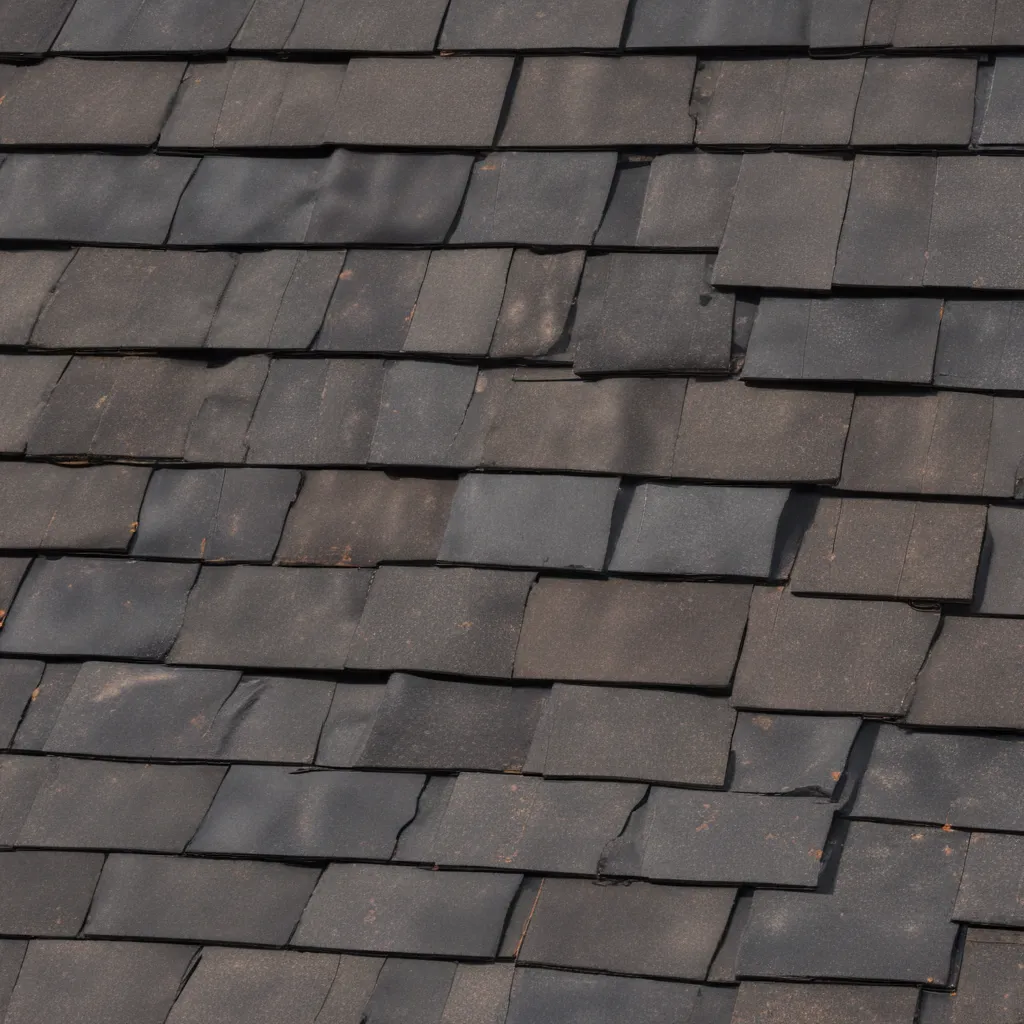
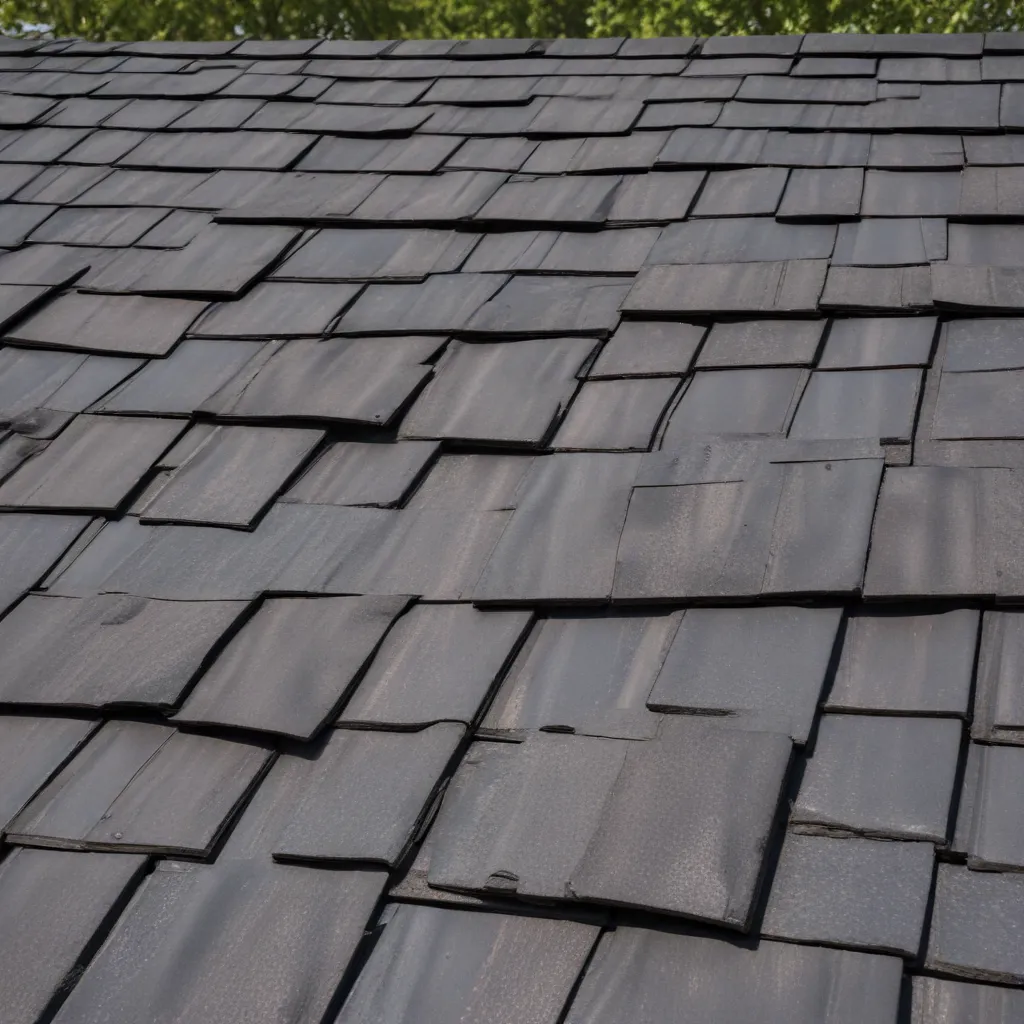
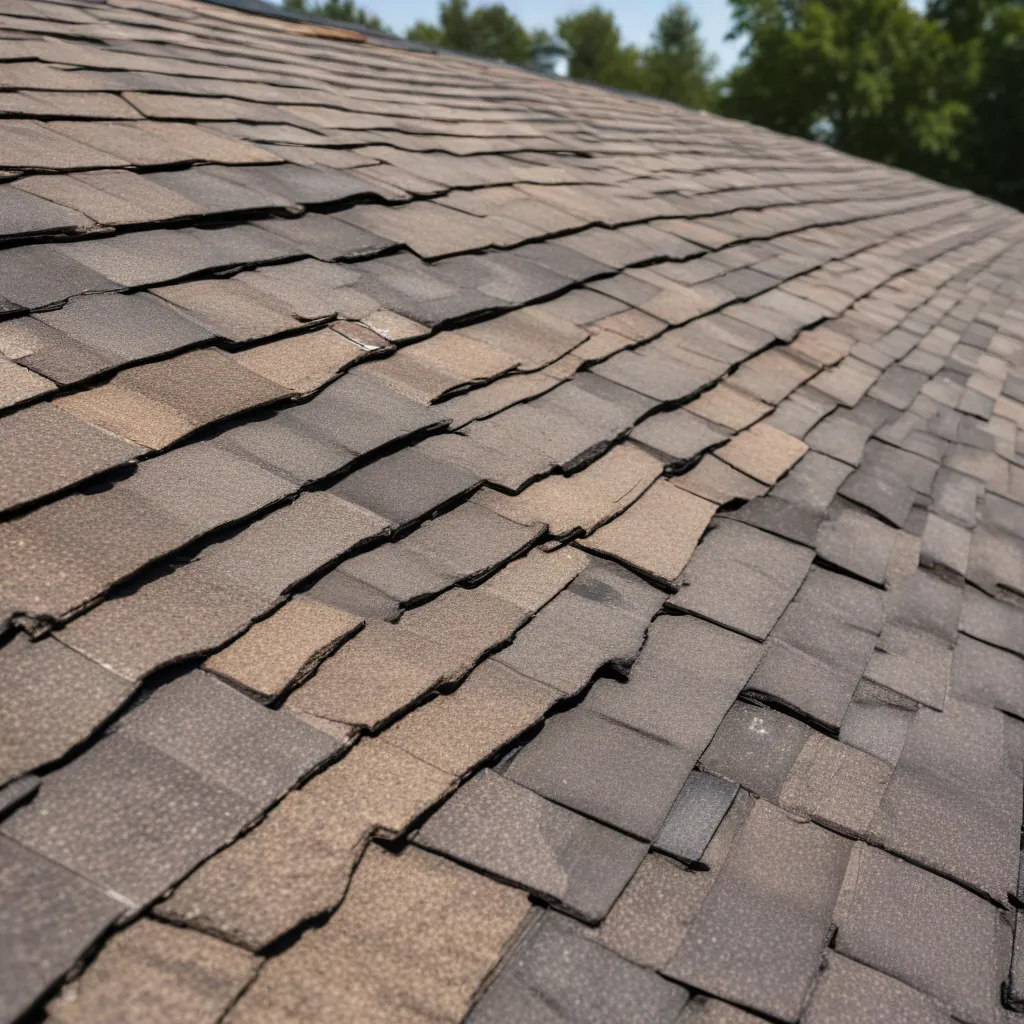
- Missing or cracked shingles: Check for any shingles that are broken, cracked, or completely missing. These can lead to leaks and further damage if not addressed promptly.
- Curling or blistering: Examine the shingles for any signs of curling or blistering, as these can indicate potential water penetration issues.
- Moss or algae growth: Pay attention to any moss, algae, or fungi growth on the roof, as they can deteriorate the shingles and compromise their integrity.
Flashing and Chimneys
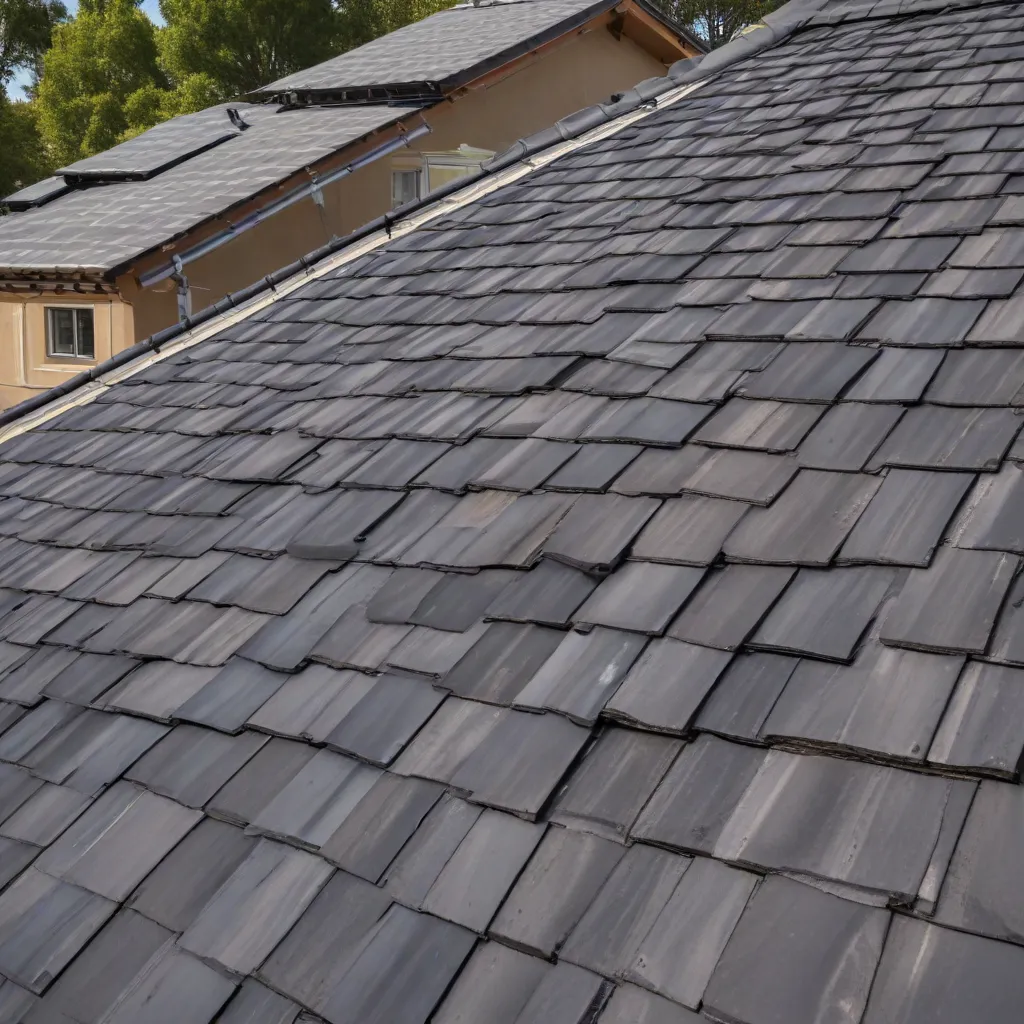
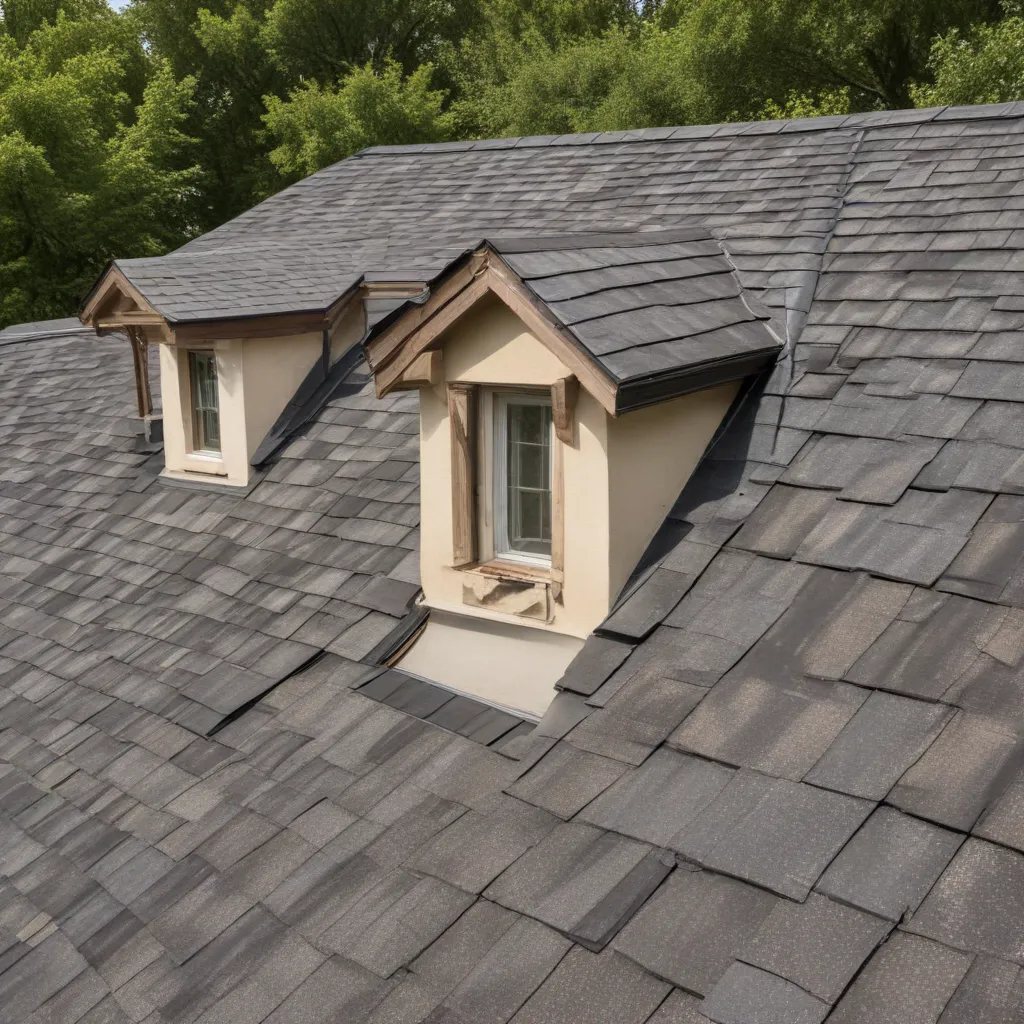
Inspect the flashing, which is the metal material that seals the joints and edges of the roof. Focus on:
- Loose or damaged flashing: Check for any loose, damaged, or corroded flashing around chimneys, vents, skylights, or other roof penetrations. Faulty flashing can lead to water infiltration.
- Chimney condition: Assess the condition of the chimney, looking for signs of cracks, missing bricks, or damaged mortar. These issues can lead to water leaks and structural problems.
Gutters and Downspouts
Examine the gutters and downspouts for any blockages or damage. Clear any debris and ensure proper functioning to avoid water accumulation and potential water damage to the roof and property.
3. Interior Roof Inspection
Moving on to the interior inspection, here’s what you should pay attention to:
Attic Inspection
Inspect the attic space directly under the roof to identify any potential issues. Look out for:
- Signs of water damage: Check for water stains, mold growth, or damp areas, as these indicate roof leaks or poor ventilation.
- Proper insulation: Ensure that the attic is adequately insulated to prevent heat loss and minimize the risk of ice dams during colder months.
- Ventilation: Assess the ventilation system in the attic to maintain a balanced airflow and prevent the buildup of heat and moisture.
Ceiling and Walls
Inspect the ceilings and walls in the uppermost rooms of your home for any signs of water stains, discoloration, or peeling paint. These can indicate roof leaks and require immediate attention.
4. Professional Roof Inspection
While conducting a thorough roof inspection yourself is beneficial, it is recommended to hire a professional roofing contractor for a more detailed evaluation. A professional roof inspection typically includes:
- Infrared scanning: This technology helps detect hidden moisture within the roof structure, identifying potential leaks or areas of concern.
- Detailed report: A professional inspector will provide a comprehensive report outlining the condition of your roof, highlighting any necessary repairs or maintenance.
Conclusion
In conclusion, conducting a thorough roof inspection before starting repairs is essential for the longevity and performance of your roof. By following the step-by-step guidelines outlined in this article, you can identify and address any underlying issues promptly, ensuring the integrity of your roof and the protection of your property. Remember, regular maintenance and inspections are key to prolonging the lifespan of your roof and avoiding costly repairs in the future. Stay proactive and prioritize the health of your roof to enjoy peace of mind for years to come.

