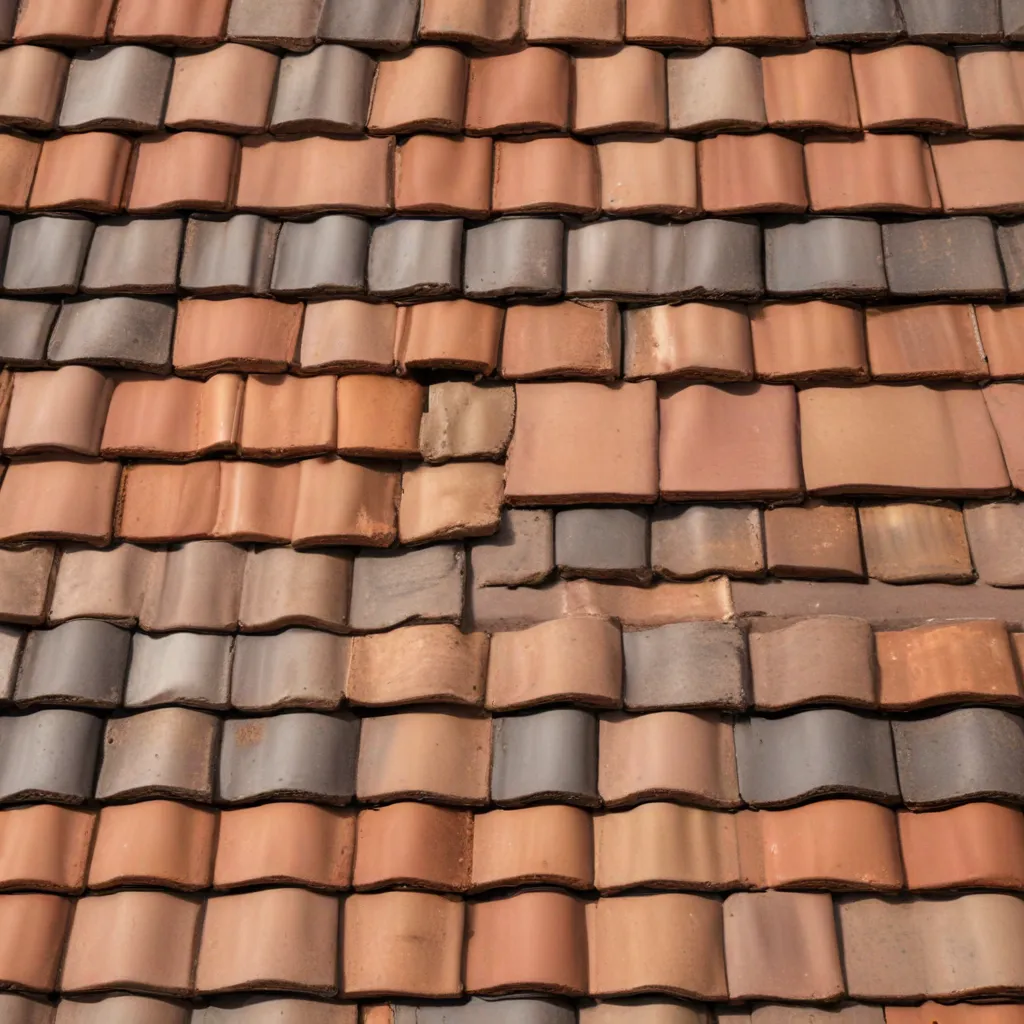
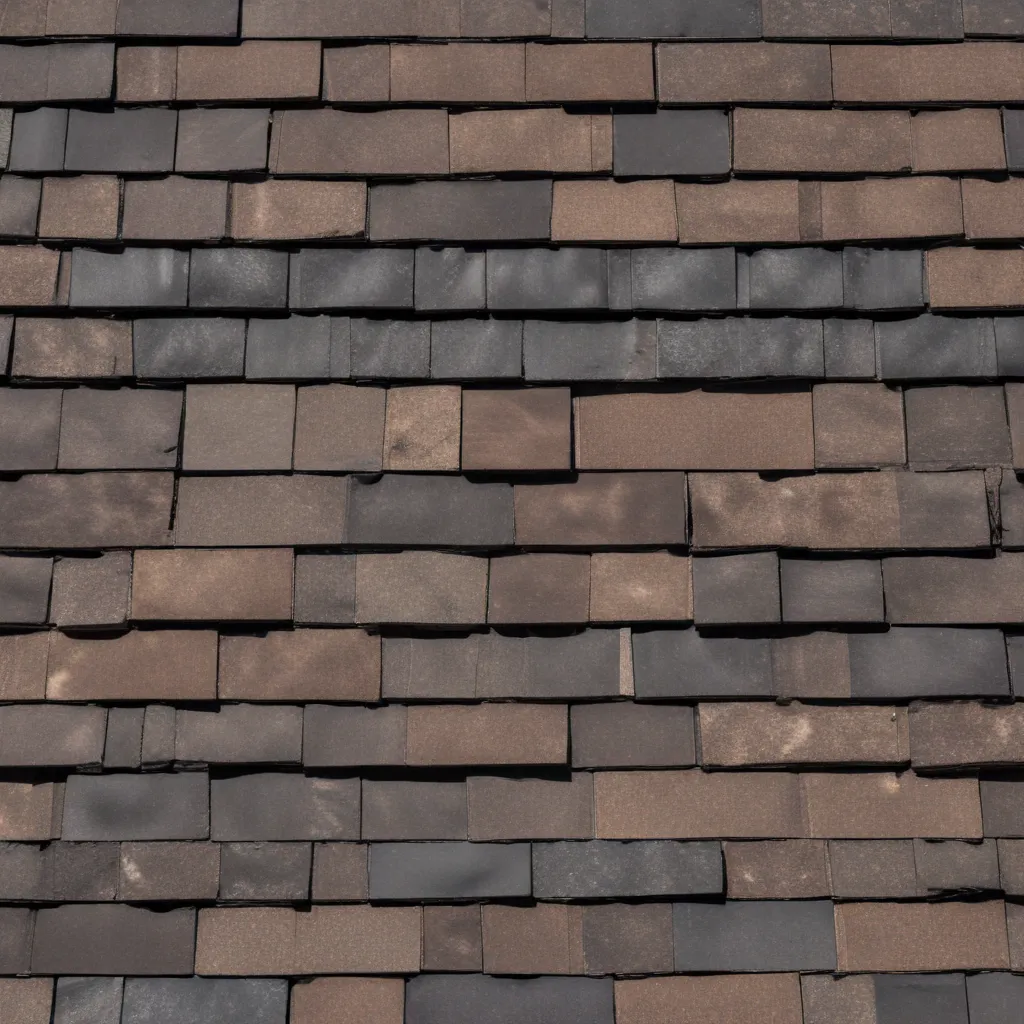
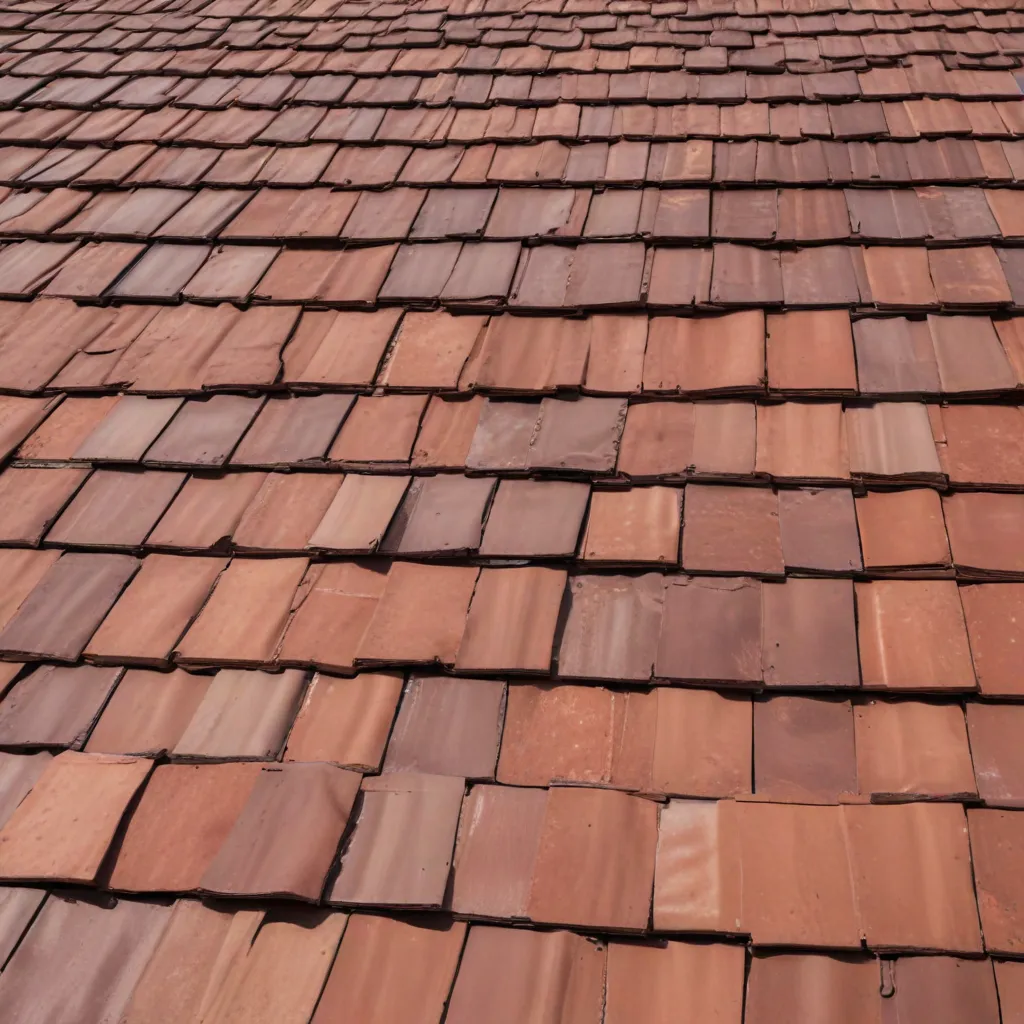
Welcome to our comprehensive guide on mastering DIY roof repairs! Whether you’re a beginner or have some experience, this article will provide you with essential safety tips and techniques to successfully tackle roof repairs on your own. By following these guidelines, you’ll be able to save money, enhance your roofing skills, and ensure the safety of yourself and your property.
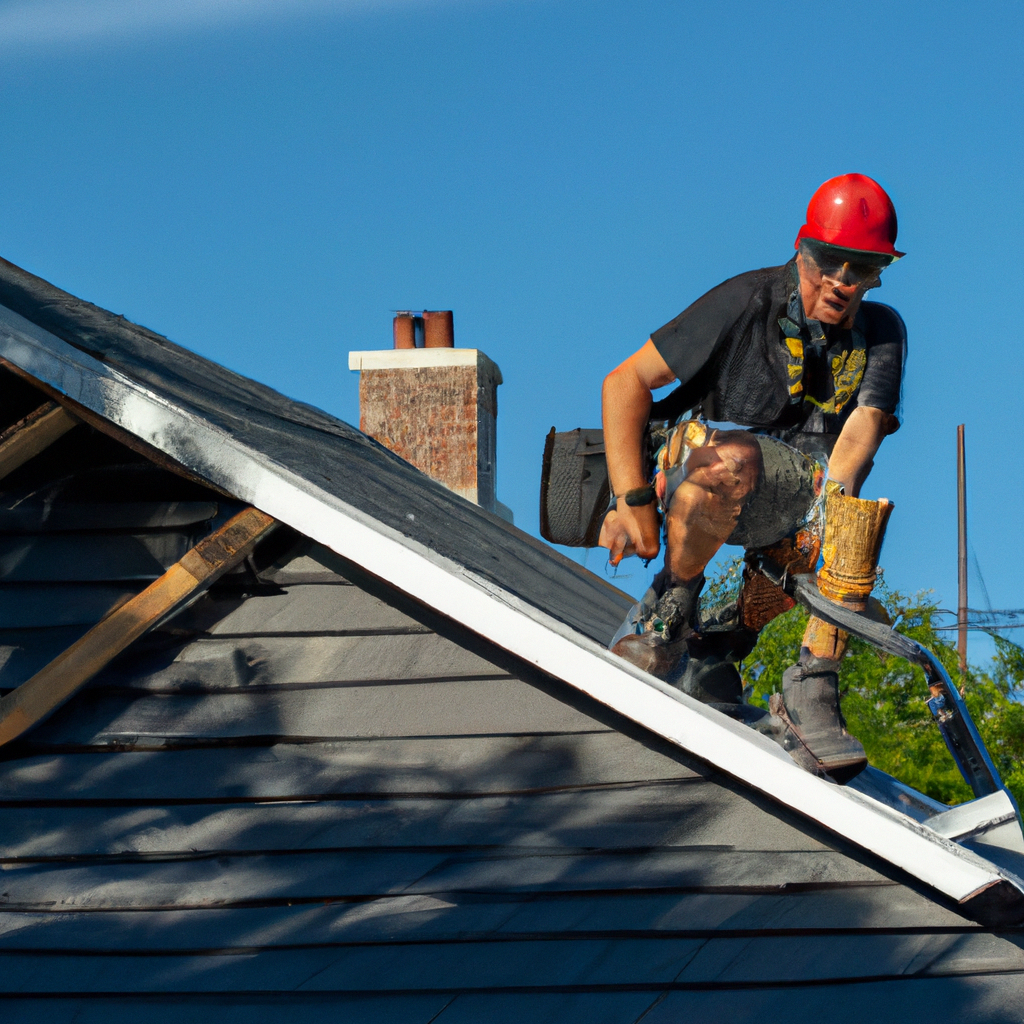
1. Assessing the Damage
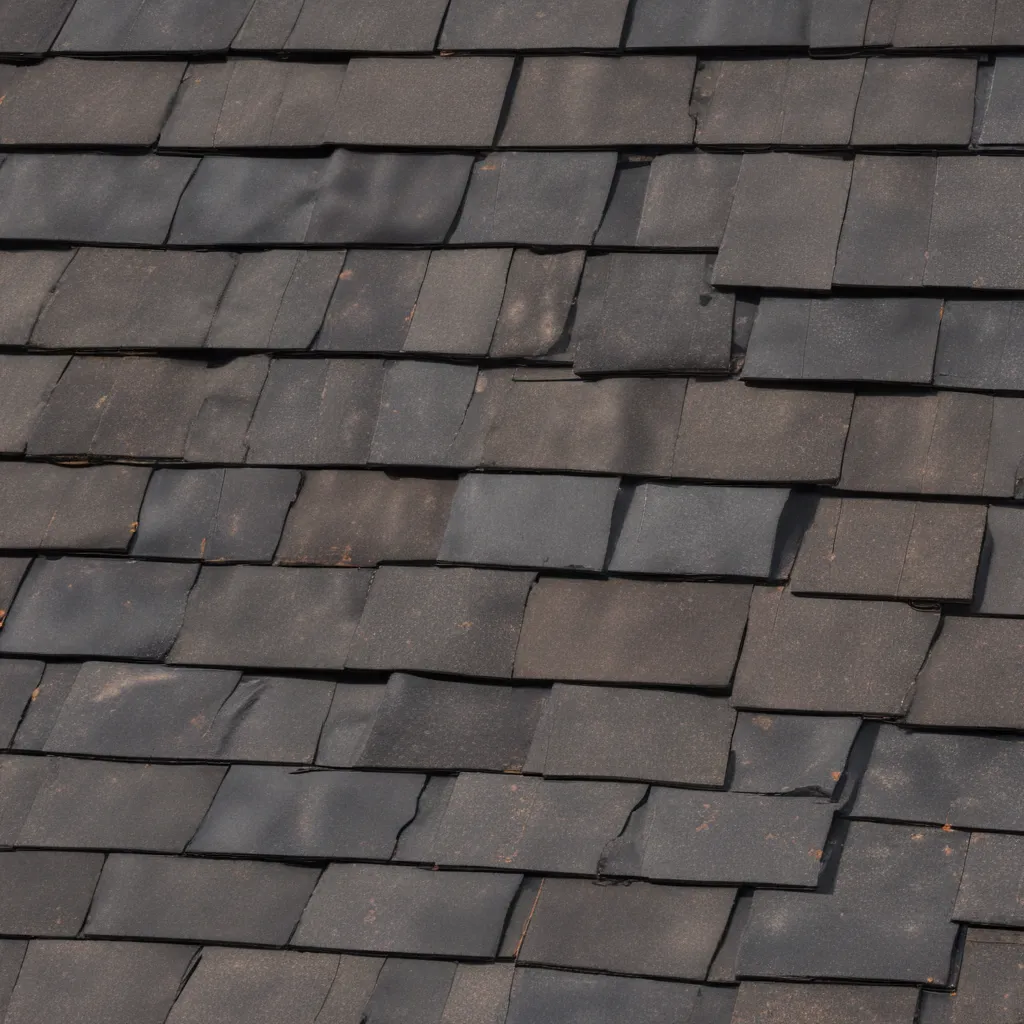
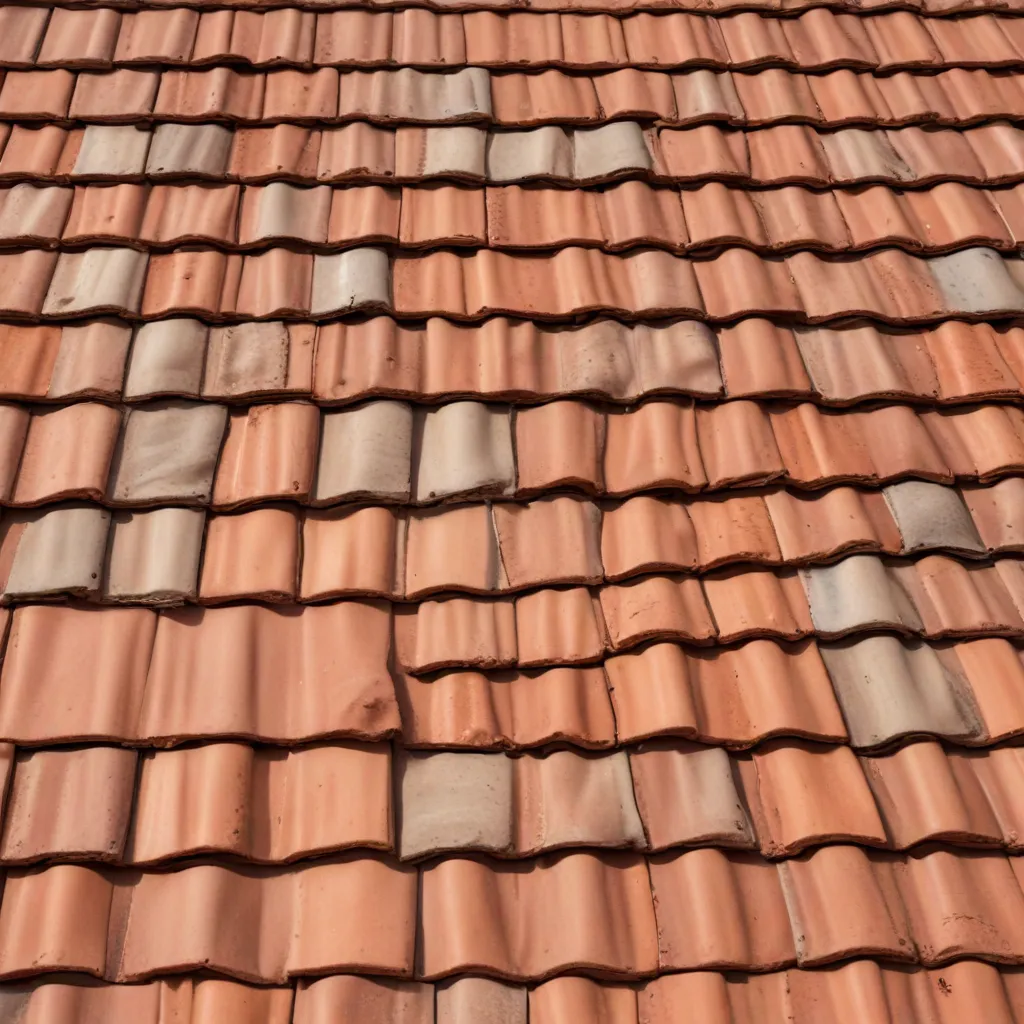
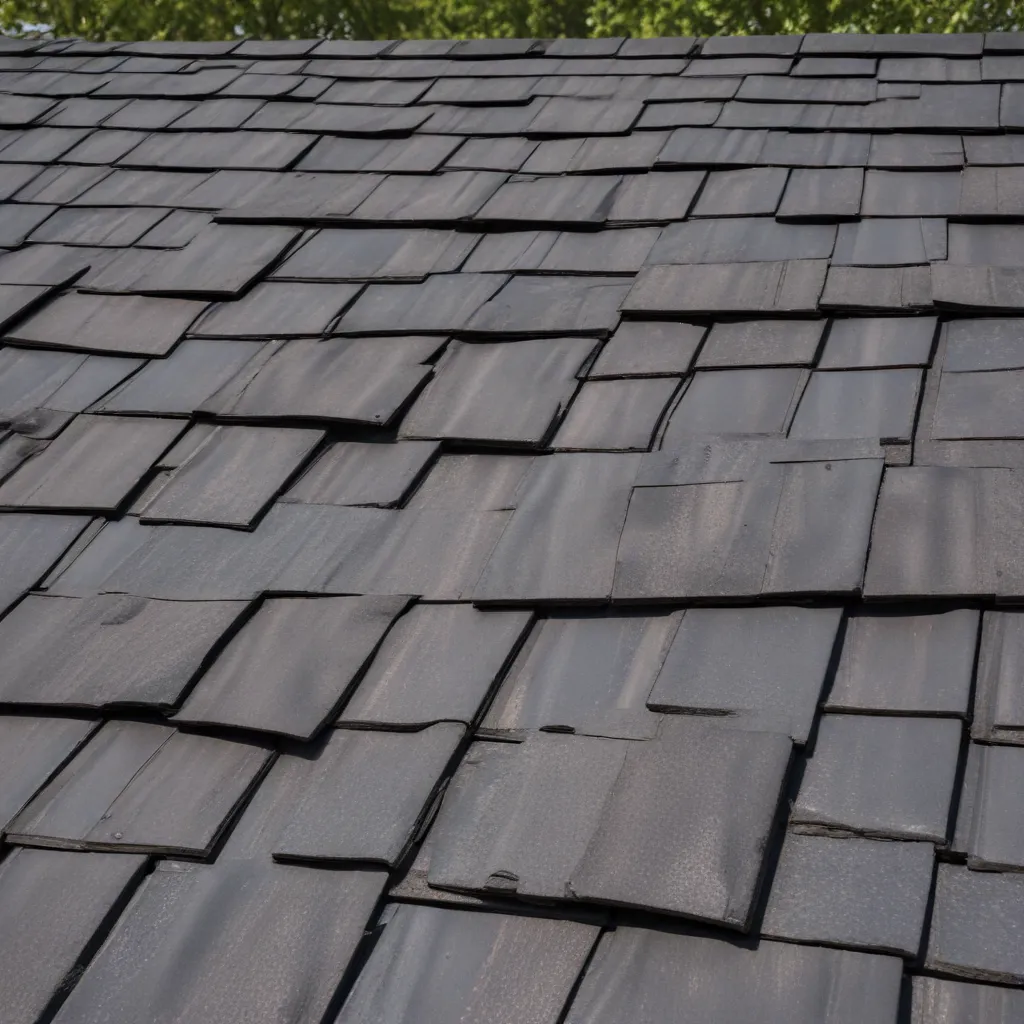
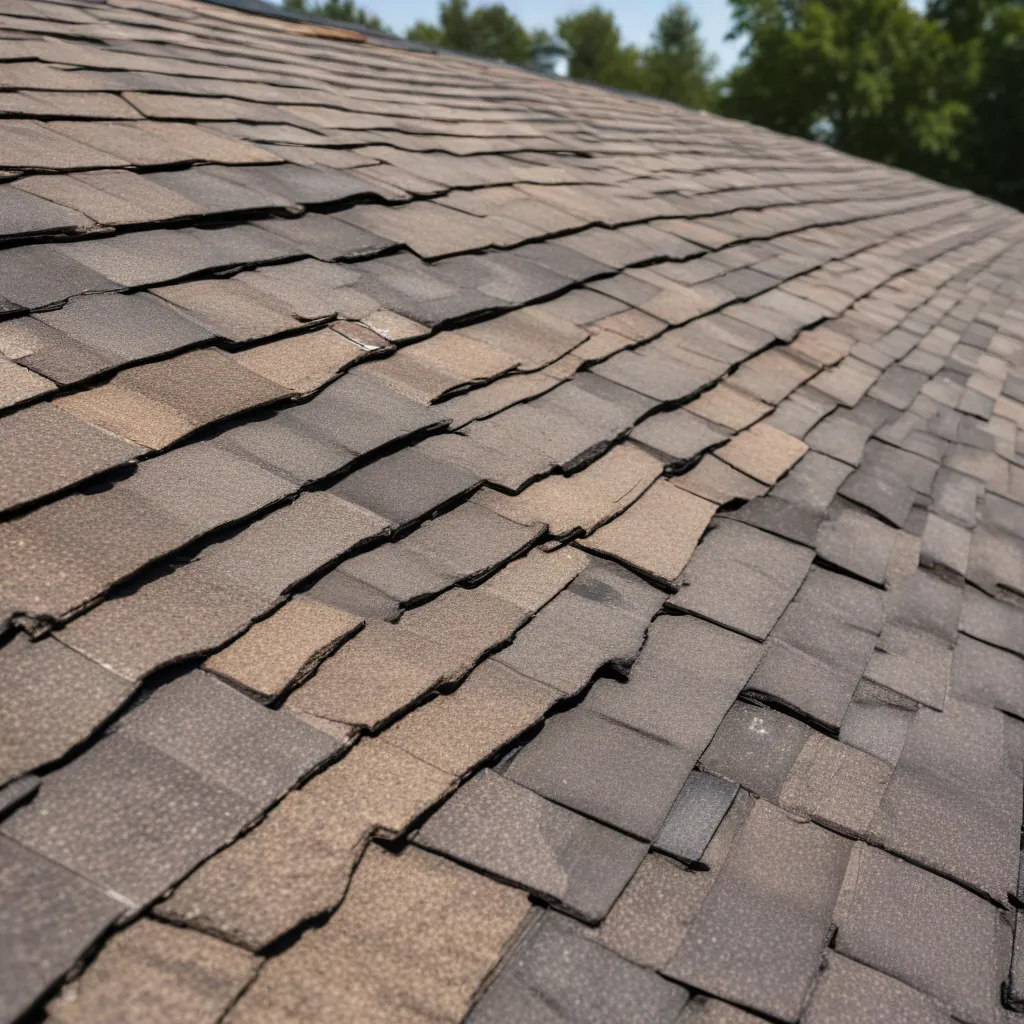
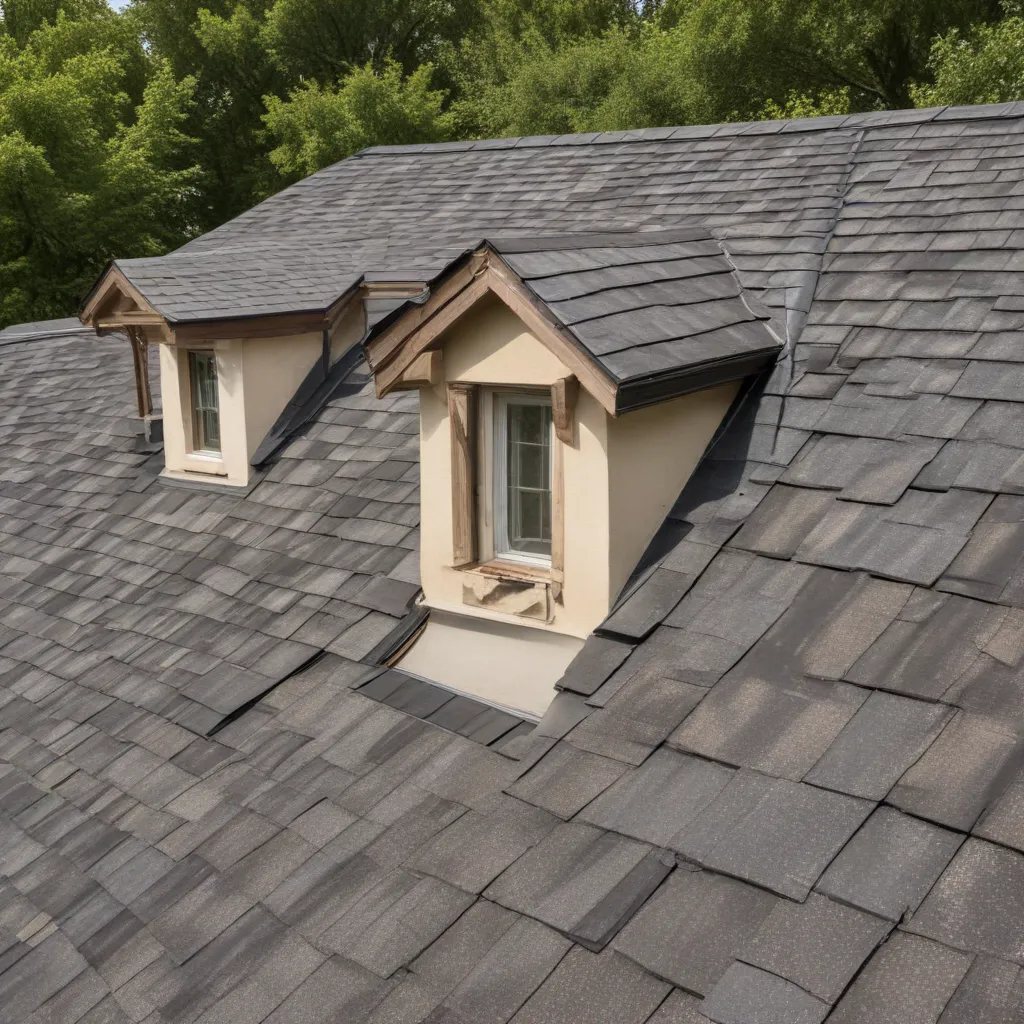
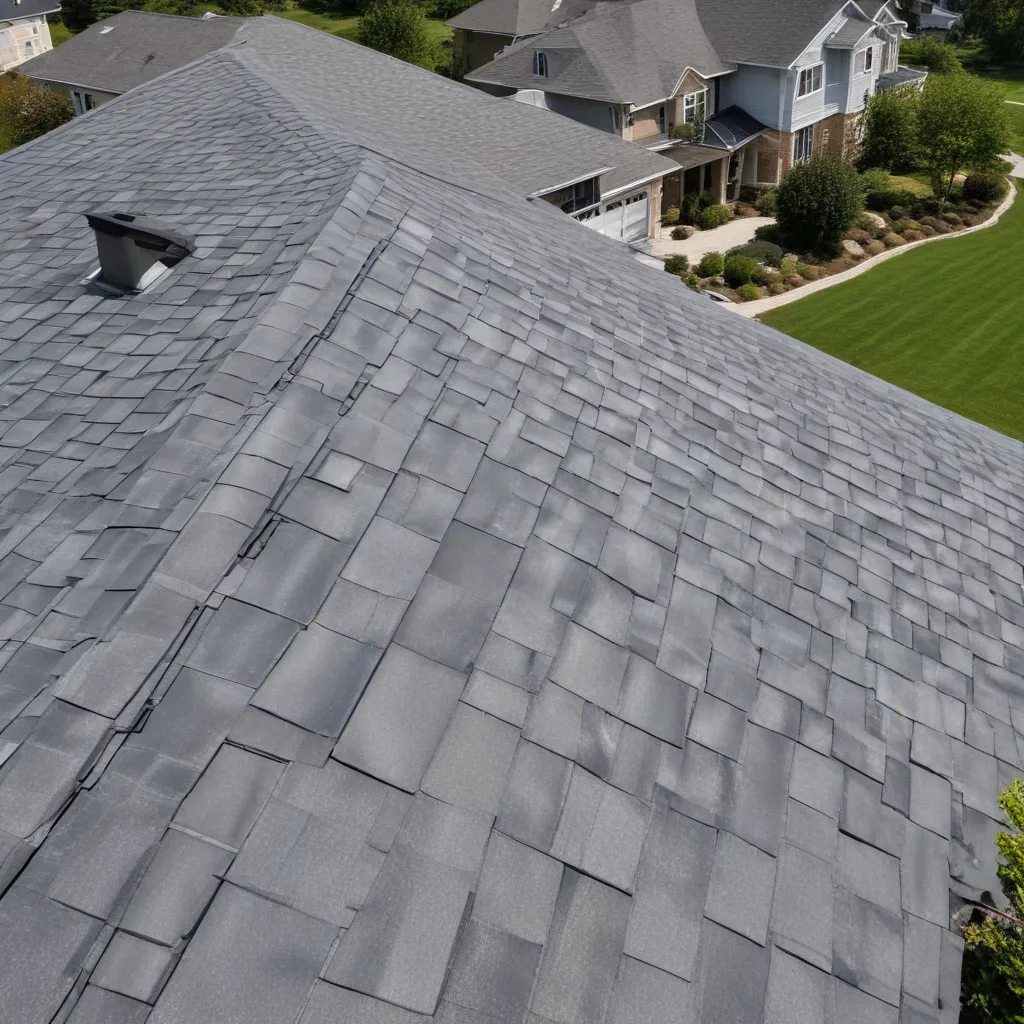
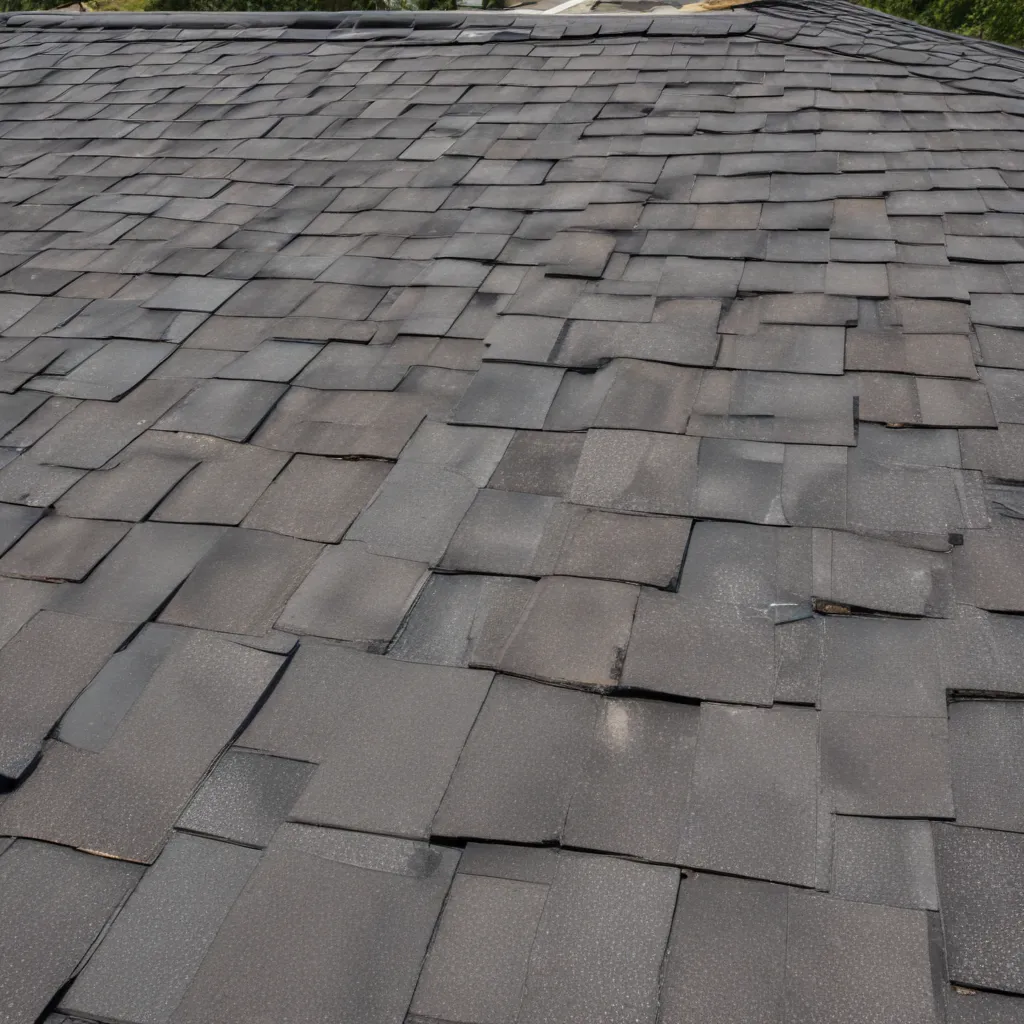
Before diving into any DIY roof repair project, it’s crucial to assess the extent of the damage. Start by inspecting your roof from the ground, looking for any visible signs of wear and tear, such as missing or damaged shingles, sagging areas, or leaks. If possible, climb up a ladder to get a closer look. Be sure to take pictures for reference.
2. Gathering the Right Tools and Materials
To perform effective DIY roof repairs, it’s essential to have the right tools and materials. Here are some key items you’ll need:
- Safety equipment: Invest in a sturdy ladder, safety harness, non-slip shoes, and protective gloves to ensure your safety while working at heights.
- Roofing tools: These may include a hammer, pry bar, roofing nails, utility knife, roofing adhesive, and a caulking gun.
- Replacement materials: Depending on the type of roof you have, you may need to purchase new shingles, flashing, underlayment, or other roofing materials. Consult with a professional or your local hardware store for the most suitable options.
3. Safety First: Precautions and Preparations
Before starting any DIY roof repair project, prioritize safety by following these precautions:
- Check the weather forecast: Avoid working on the roof during inclement weather, such as rain, strong winds, or extreme temperatures. These conditions can make the roof surface slippery and increase the risk of accidents.
- Inform others: Let someone know about your repair plans, especially if you’ll be working alone. In case of an emergency, this will ensure that help can be summoned quickly.
- Secure the work area: Clear the roof of debris and secure any loose items, such as tools or materials, to prevent accidents. Use caution tape or cones to mark off the work zone and alert others to keep their distance.
4. Basic Roof Repair Techniques
Now that you’ve taken the necessary safety precautions, let’s delve into some basic roof repair techniques that will help you address common issues:
Fixing a Leaky Roof
- Identify the source: Trace the origin of the leak by examining the areas where water is entering your home. Look for signs of water stains or dampness on the ceiling and walls.
- Repair small leaks: For minor leaks, apply roofing sealant or patching compound directly on the affected area. Ensure the surface is clean and dry before applying the sealant.
- Fixing damaged shingles: If a leak is caused by damaged or missing shingles, carefully remove the damaged shingle(s) and replace them with new ones. Secure the replacement shingles with roofing nails.
Repairing Flashing
- Locate damaged flashing: Flashing is a thin metal strip installed around chimneys, vents, and skylights to prevent water from seeping into the roof. If the flashing is damaged or corroded, it needs to be repaired or replaced.
- Remove old flashing: Gently pry off the old flashing using a pry bar or utility knife. Be cautious not to damage the surrounding roofing materials.
- Install new flashing: Cut the new flashing to the appropriate size and shape, then secure it in place using roofing adhesive or roofing nails. Ensure a tight seal to prevent water infiltration.
Addressing Sagging Areas
- Reinforce the structure: Sagging areas in the roof may indicate underlying structural issues. Consult a professional to assess the situation and determine the necessary repairs. Attempting to fix structural problems on your own can be dangerous and may require advanced skills.
5. Hiring a Professional
While DIY roof repairs can be cost-effective and rewarding, there are situations where it’s best to hire a professional roofing contractor. Consider the following factors:
- Safety concerns: If the repair involves steep slopes, complex structural issues, or requires specialized equipment, it’s safer to leave it to the experts.
- Lack of experience: If you’re uncertain about your roofing skills or the extent of the damage, consulting a professional will ensure the job is done correctly.
- Time constraints: If you don’t have the time or resources to dedicate to a DIY project, hiring a professional will save you valuable time and effort.
Conclusion
Congratulations on completing our comprehensive guide on mastering DIY roof repairs! By following the safety tips and techniques outlined in this article, you’ll be well-equipped to tackle common roofing issues on your own. Remember to always prioritize safety, gather the necessary tools and materials, and assess the complexity of the repair before deciding whether to DIY or hire a professional. With practice, you’ll gain confidence in your abilities and maintain a well-maintained roof for years to come. Happy repairing!

