When it comes to maintaining and repairing your roof, it’s tempting to take matters into your own hands and attempt a do-it-yourself (DIY) approach. While taking on DIY projects can be rewarding, it’s important to remember that roof repairs require specialized knowledge and skills. Without the proper expertise, you may end up making costly mistakes that could have been avoided. In this comprehensive guide, we will reveal the secret to avoiding these mistakes and ensure that your DIY roof repairs are successful.
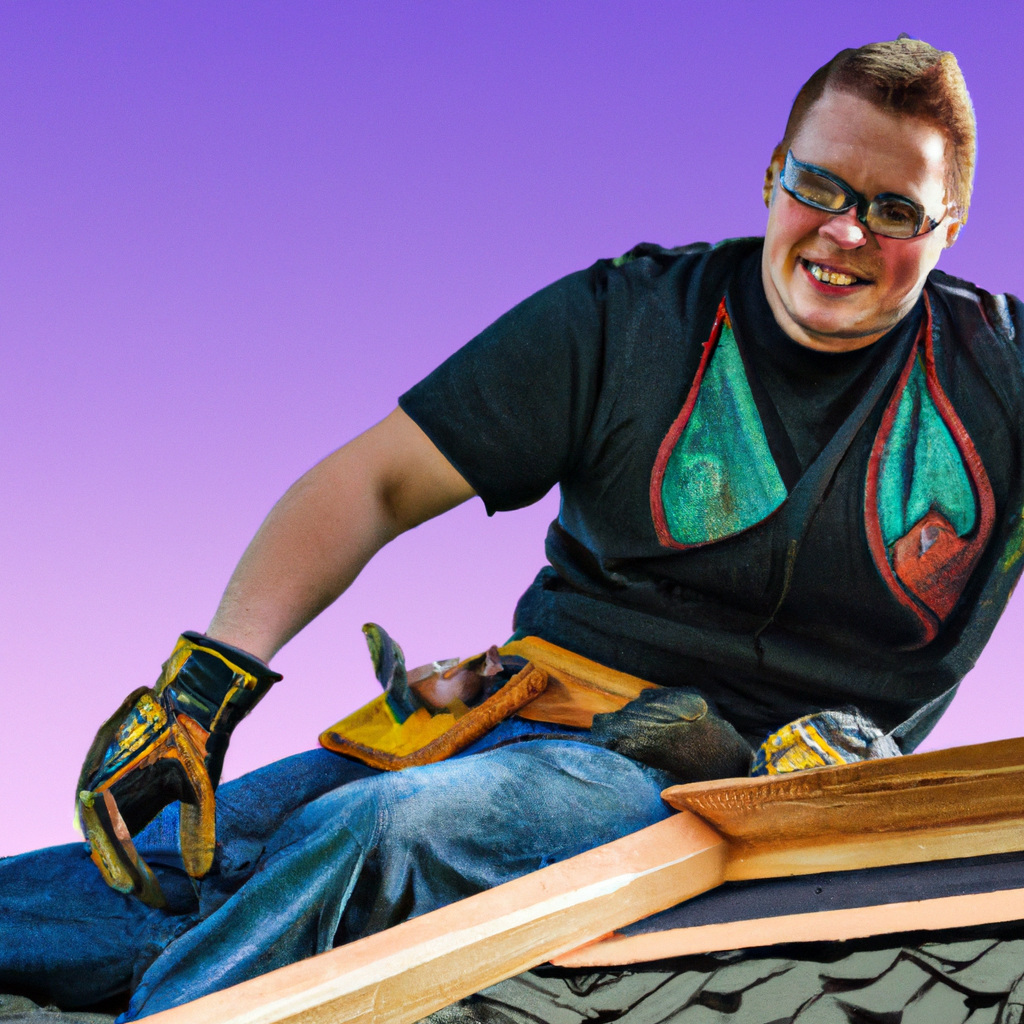
Understanding the Importance of Roof Repairs
Before diving into the details of DIY roof repairs, it’s crucial to understand why roof maintenance and timely repairs are essential. Your roof serves as the first line of defense against the elements, protecting your home from rain, snow, wind, and other environmental factors. A well-maintained roof not only enhances the curb appeal of your property but also helps maintain its structural integrity. Neglecting roof repairs can lead to more significant issues, such as leaks, water damage, and even compromised structural stability.
Assessing the Scope of the Repair
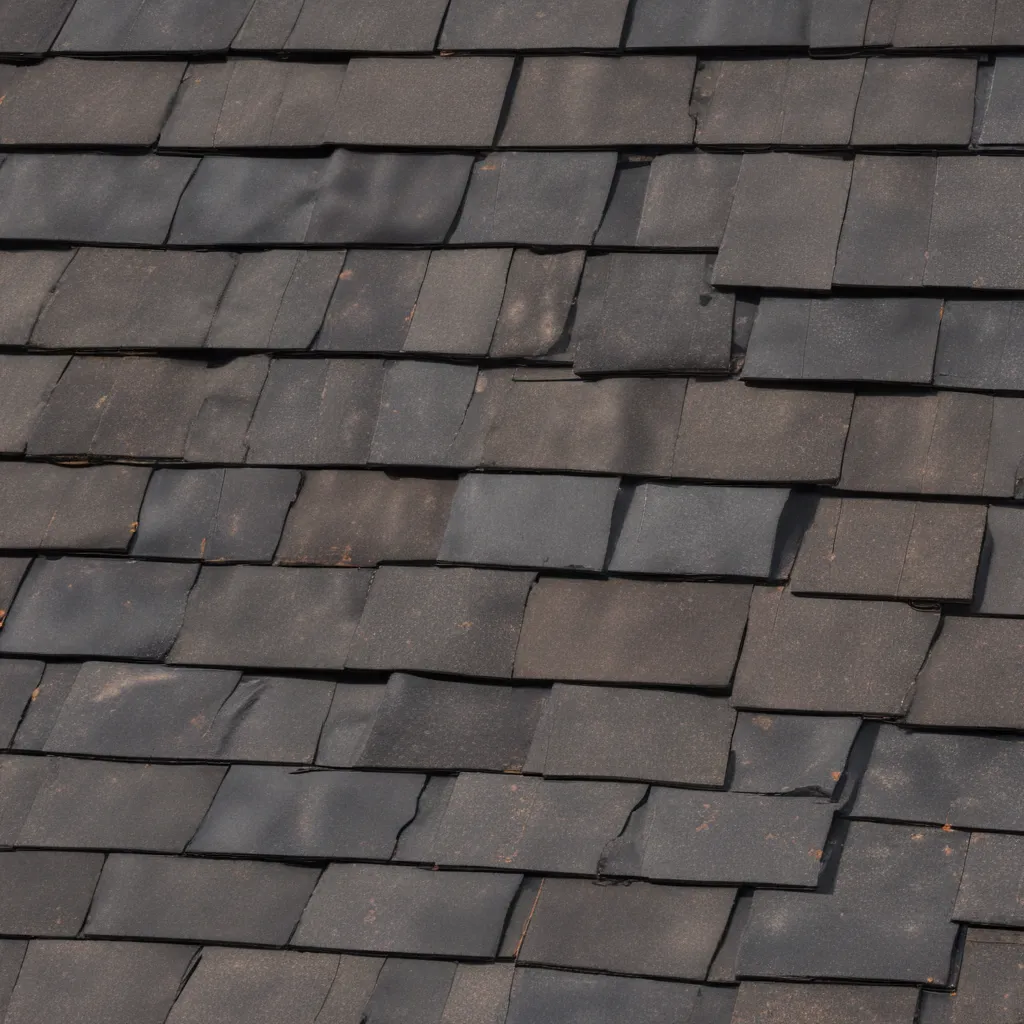
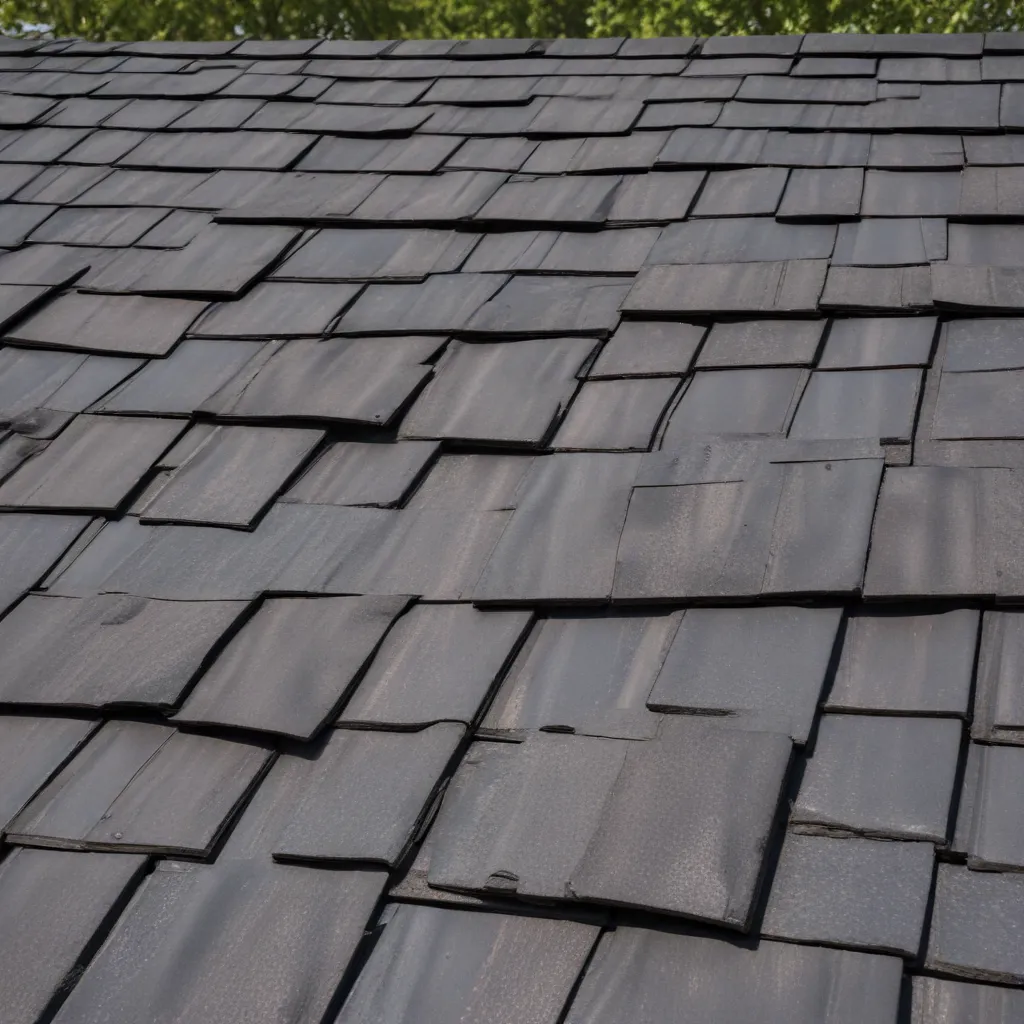
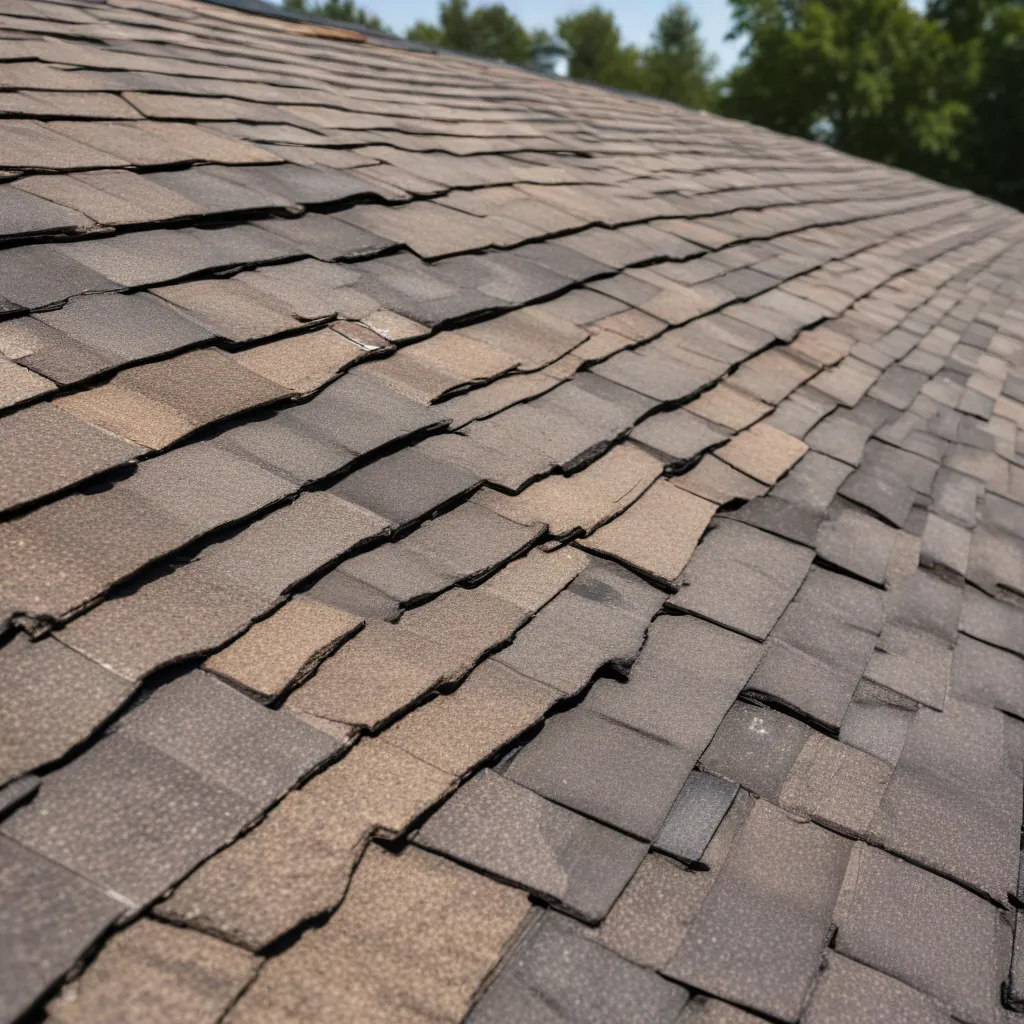
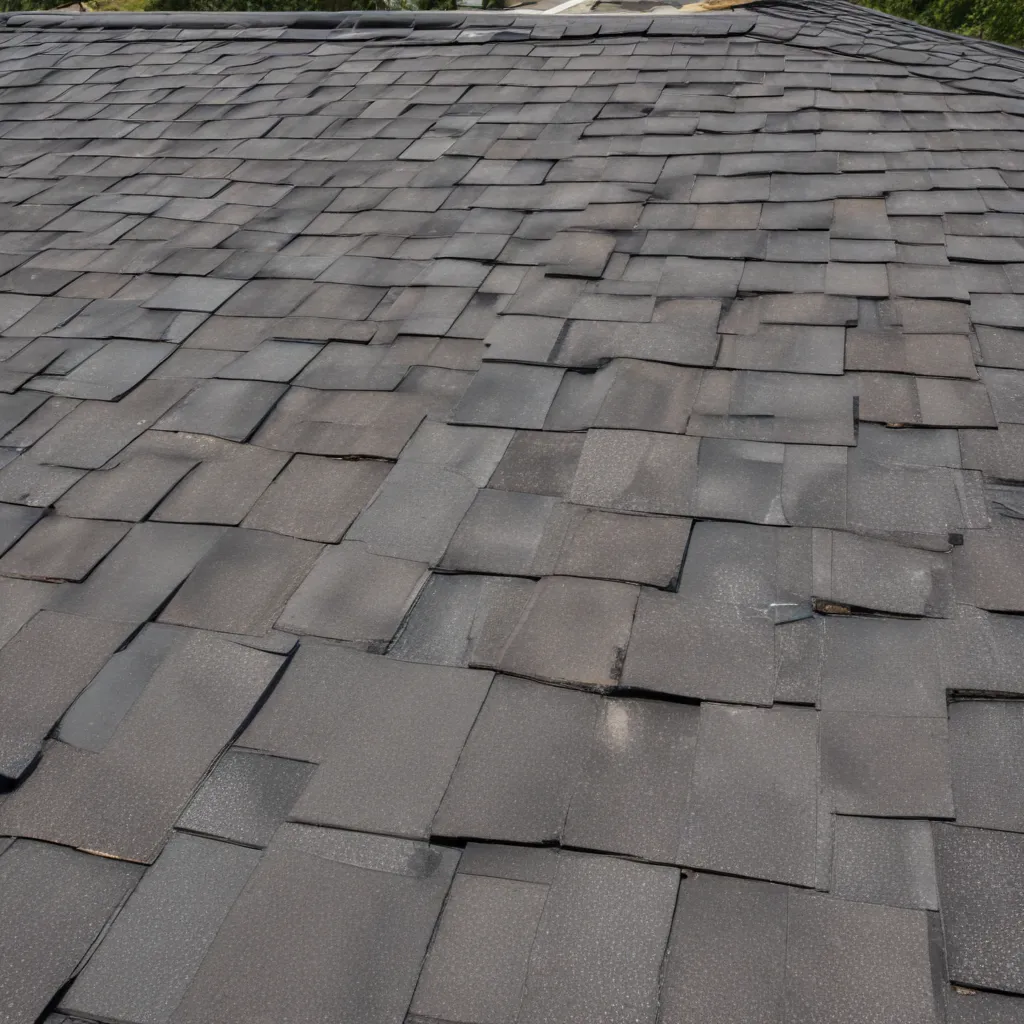
The secret to successful DIY roof repairs lies in accurately assessing the scope of the repair. Before you begin any work, it’s crucial to conduct a thorough inspection of your roof. Look for signs of damage, such as missing or damaged shingles, cracked flashing, or deteriorated caulking. It’s also essential to check for any signs of water leaks or structural issues. By identifying the extent of the repair needed, you can plan accordingly and ensure you have the necessary materials and tools.
Gathering the Right Tools and Materials
To successfully complete your DIY roof repair project, you’ll need to gather the right tools and materials. This includes a ladder, safety equipment (such as gloves and goggles), roofing nails, shingles or other roofing materials, a hammer, a pry bar, roofing adhesive, and a caulking gun. Depending on the specific repair you’re undertaking, you may also need specialized tools like a roofing nail gun or a chimney flashing kit. It’s important to invest in high-quality materials to ensure the longevity and effectiveness of your repairs.
Safety First: Proper Precautions and Techniques
Safety should always be a top priority when working on your roof. Before you start any repairs, make sure to take the necessary precautions. Ensure that your ladder is stable and securely positioned. Use safety harnesses and ropes to prevent falls, especially when working on steep roofs. It’s also important to be aware of potential hazards, such as overhead power lines, and take appropriate measures to avoid accidents. Additionally, familiarize yourself with proper roofing techniques, such as how to safely remove damaged shingles and apply new ones.
Step-by-Step Guide to Common DIY Roof Repairs
Repairing Damaged Shingles
One of the most common DIY roof repairs involves replacing damaged or missing shingles. Start by carefully removing the damaged shingle using a pry bar. Take note of the type and size of the existing shingles to ensure you purchase the correct replacement. Apply a layer of roofing adhesive to the back of the new shingle and carefully slide it into place, aligning it with the surrounding shingles. Secure the shingle with roofing nails, ensuring they are driven in at the appropriate angle and depth.
Fixing Leaks and Sealant Application
If you’ve noticed a leak or suspect that there is a problem with the sealant on your roof, it’s important to address it promptly. Start by identifying the source of the leak by thoroughly inspecting the area. Clean the affected area and remove any old or deteriorated sealant. Apply a generous amount of new sealant, making sure to cover the entire damaged area. Smooth out the sealant using a putty knife or caulking gun, ensuring a watertight seal. Allow the sealant to dry completely before testing for leaks.
Repairing Flashing Issues
Flashing plays a crucial role in preventing water penetration around roof openings, such as chimneys, skylights, or vent pipes. If you notice any signs of damaged or deteriorated flashing, it’s important to address it promptly. Start by removing the old flashing using a pry bar or a specialized flashing removal tool. Clean the area thoroughly and ensure it is free of debris. Install new flashing, making sure it is properly aligned and securely fastened. Apply roofing adhesive or sealant to ensure a watertight seal.
Conclusion
In conclusion, tackling DIY roof repairs can be a rewarding and cost-effective option if done correctly. By accurately assessing the scope of the repair, gathering the right tools and materials, prioritizing safety, and following proper techniques, you can avoid costly mistakes. Remember that while DIY repairs can save you money, it’s essential to know your limitations. If you encounter extensive damage or are unsure about the repair process, it’s always best to consult a professional roofing contractor. Take care of your roof, and it will continue to protect your home for years to come.

