Welcome to our comprehensive guide on DIY roofing insulation installation. In this article, we will provide you with all the necessary information and step-by-step instructions to successfully insulate your roof. Proper insulation is crucial for maintaining a comfortable and energy-efficient home, and it can also help reduce your heating and cooling costs. Whether you are a beginner or an experienced DIY enthusiast, this guide will equip you with the knowledge and techniques needed to complete the project successfully.
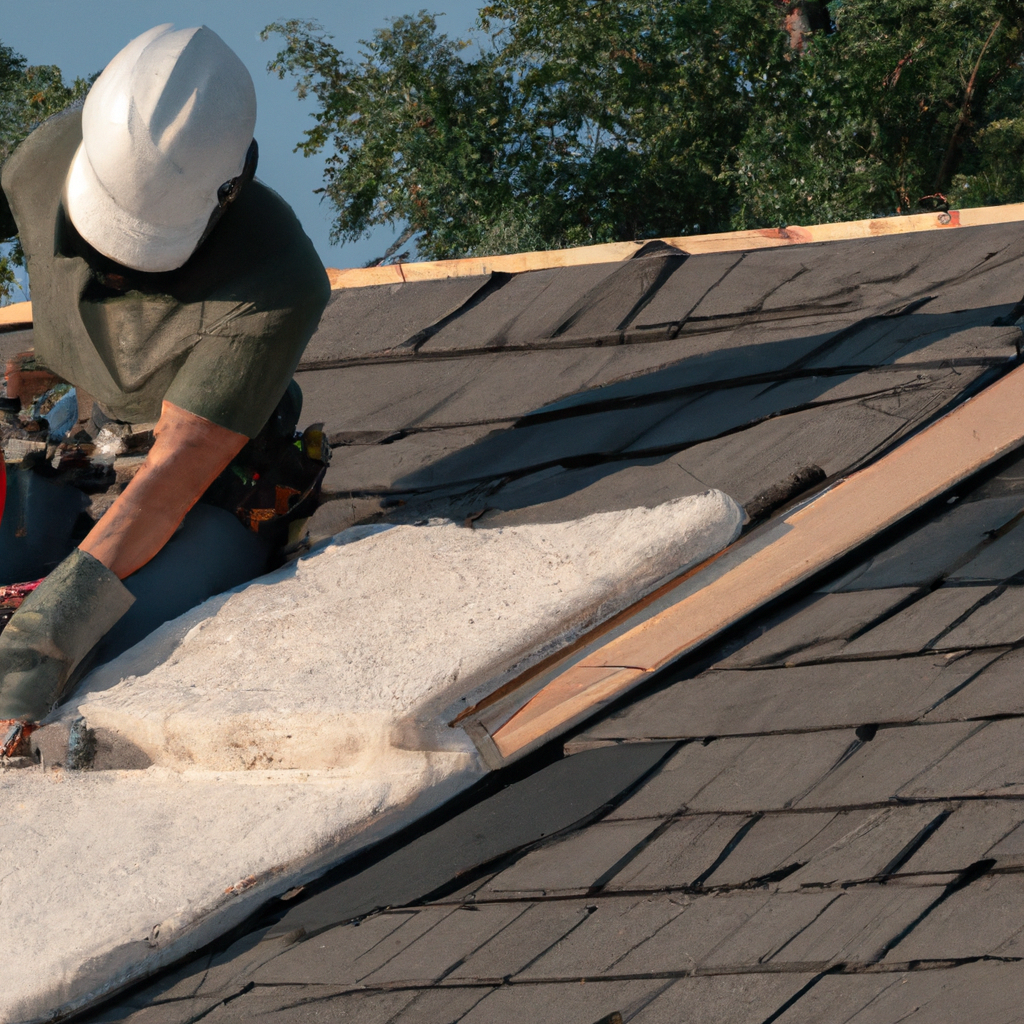
Why Is Roofing Insulation Important?
Before diving into the installation process, let’s first understand why roofing insulation is important. A well-insulated roof acts as a barrier, preventing heat transfer between the interior and exterior of your home. During hot summer months, insulation helps keep your home cool by reducing the amount of heat that enters. In cold winter months, it works the opposite way, trapping heat inside your home and preventing it from escaping. This helps maintain a consistent and comfortable indoor temperature throughout the year.
Choosing the Right Insulation Material
When it comes to selecting the right insulation material for your roof, there are several options available. Each material has its own set of advantages and considerations, so it’s essential to choose the one that best suits your needs. Here are some common types of insulation materials:
- Fiberglass Insulation: This is one of the most popular and cost-effective options. It consists of tiny glass fibers that trap air, providing excellent thermal insulation.
- Cellulose Insulation: Made from recycled paper products, cellulose insulation is an eco-friendly choice. It is treated with fire-retardant chemicals to improve its safety.
- Spray Foam Insulation: This type of insulation is applied as a liquid and expands into a foam, filling gaps and creating an airtight seal. It offers superior insulation properties but can be more expensive.
- Reflective Insulation: Reflective insulation uses a reflective surface to reflect heat away from your home. It is particularly effective in hot climates.
Consider factors such as R-value (thermal resistance), cost, moisture resistance, and ease of installation when selecting the right insulation material for your roof.
Tools and Materials Required
Before getting started, gather all the necessary tools and materials to ensure a smooth installation process. Here’s a list of commonly required items:
- Insulation material of your choice
- Measuring tape
- Utility knife or insulation cutter
- Safety goggles and gloves
- Dust mask or respirator
- Staple gun or adhesive
- Caulking gun and sealant
- Ladder or scaffolding (if needed)
- Hammer and nails (if applicable)
Preparing for Installation
Proper preparation is essential for a successful insulation installation. Follow these steps to get ready:
- Ensure your attic or roof space is clean and free from any debris or previous insulation material.
- Check for any existing damage or leaks in your roof. Repair them before proceeding with insulation installation.
- Measure the area you plan to insulate accurately. This will help determine the amount of insulation material required.
Installation Process
Now that you’re ready to begin the installation process, let’s dive into the step-by-step instructions:
- Start by wearing appropriate safety gear, including goggles, gloves, and a dust mask or respirator.
- Unroll or unpack the insulation material and cut it into suitable lengths using a utility knife or insulation cutter.
- Carefully place the insulation material between the roof rafters, ensuring a snug fit. Avoid compressing the material, as it may reduce its effectiveness.
- Secure the insulation in place using a staple gun or adhesive. Be cautious not to damage the material while doing so.
- Seal any gaps or air leaks using a caulking gun and appropriate sealant. This will help maintain the insulation’s integrity and prevent air leakage.
- Repeat the process until the entire roof space is adequately insulated.
Maintaining and Inspecting Your Roof Insulation
Once the installation is complete, it’s essential to regularly inspect and maintain your roof insulation to ensure its efficiency. Here are some tips to keep in mind:
- Inspect your insulation periodically for signs of damage, such as moisture, mold, or pest infestation. Address any issues promptly.
- Check for any gaps or areas where the insulation may have shifted or become compressed. Add more insulation if necessary.
- Keep your roof free from any debris or vegetation that may compromise the insulation’s effectiveness.
- Consider adding additional insulation in the future if you notice a significant increase in your energy bills or experience temperature inconsistencies in your home.
Conclusion
Congratulations on completing your DIY roofing insulation installation! By following this ultimate guide, you have taken a significant step toward improving the energy efficiency and comfort of your home. Remember to choose the right insulation material, follow proper installation techniques, and regularly maintain your insulation for optimal results. With a well-insulated roof, you can enjoy a comfortable living space while saving on energy costs. Happy insulating!

